OAuth Public Frontend Configuration
As of v0.4.7, zrok includes OAuth integration for both Google and GitHub for zrok access public public frontends.
This integration allows you to create public shares and request that the public frontend authenticate your users against either the Google or GitHub OAuth endpoints (using the user's Google or GitHub accounts). Additionally, you can restrict the email address domain associated with the count to a list of domains that you provide when you create the share.
This is a first step towards a more comprehensive portfolio of user authentication strategies in future zrok releases.
Planning for the OAuth Frontend
The current implementation of the OAuth public frontend uses a HTTP listener to handle redirects from OAuth providers. You'll need to configure a DNS name and a port for this listener that is accessible by your end users. We'll refer to this listener as the "OAuth frontend" in this guide.
We'll use the public DNS address of the OAuth frontend when creating the Google and GitHub OAuth clients below. This address is typically configured into these clients as the "redirect URL" where these clients will send the authenticated users after authentication.
The zrok OAuth frontend will capture the successful authentication and forward the user back to their original destination.
Configuring a Google OAuth Client ID
OAuth Content Screen
Before you can configure an OAuth Client ID in Google Cloud, you have to configure the "OAuth content screen".
In the Google Cloud console, navigate to: APIs & Services > Credentials > OAuth content screen
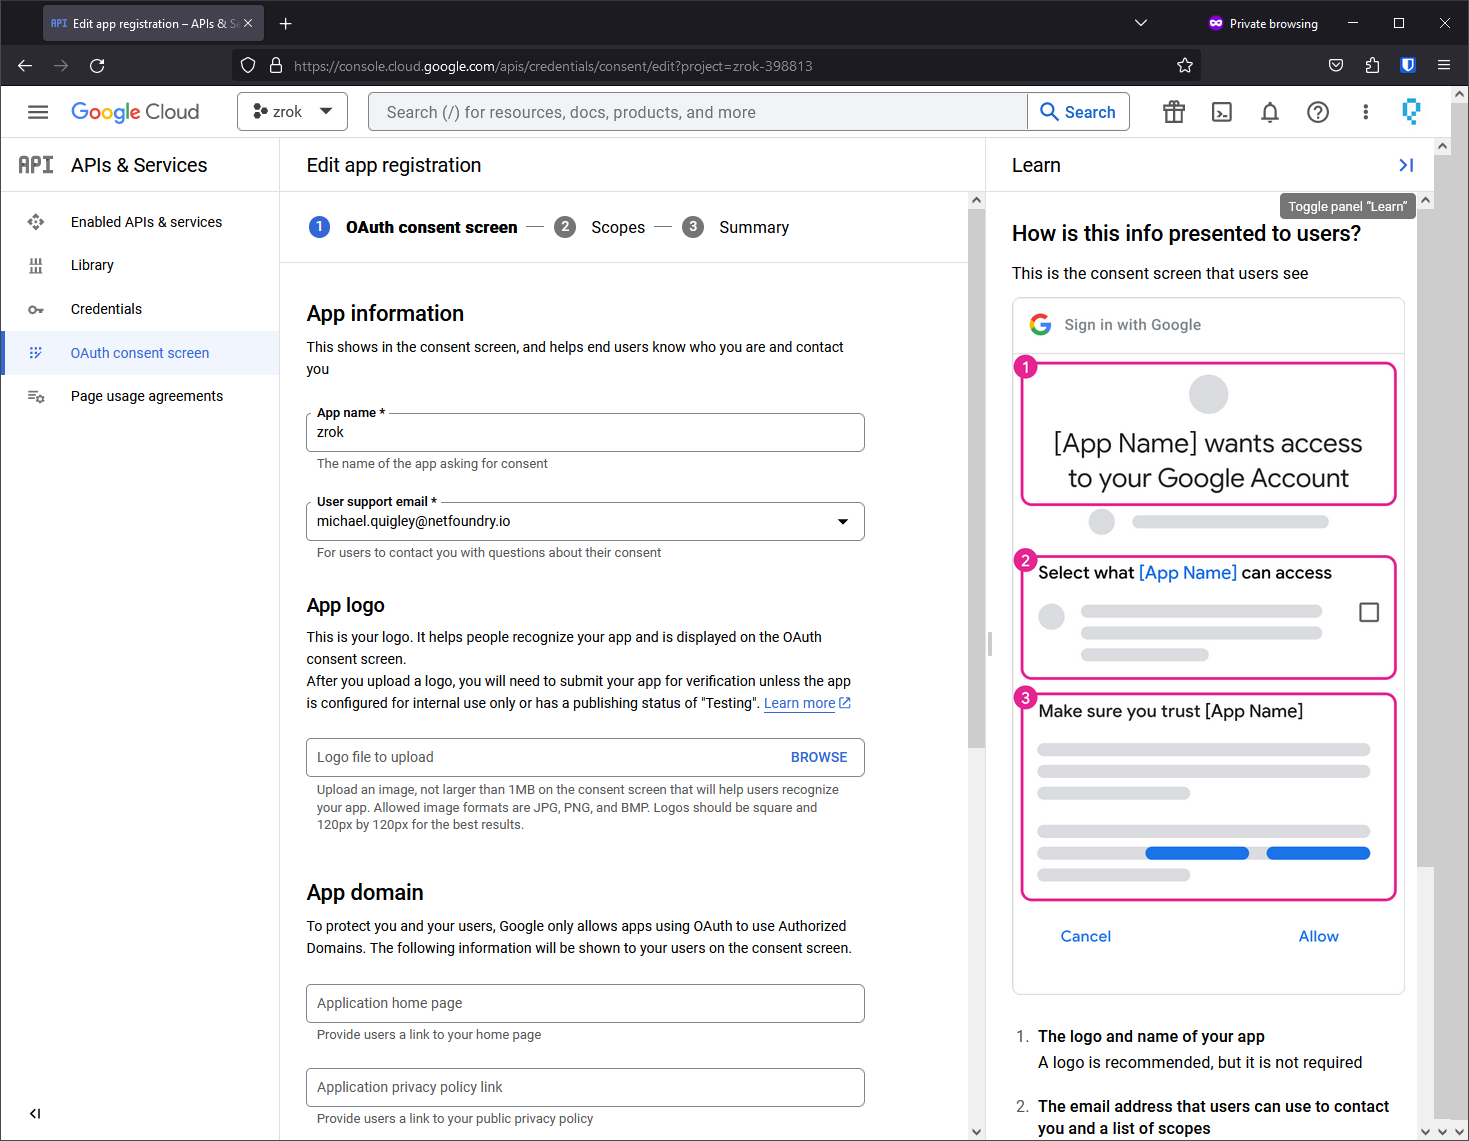
Here you can give your zrok public frontend an identity and branding to match your deployment.
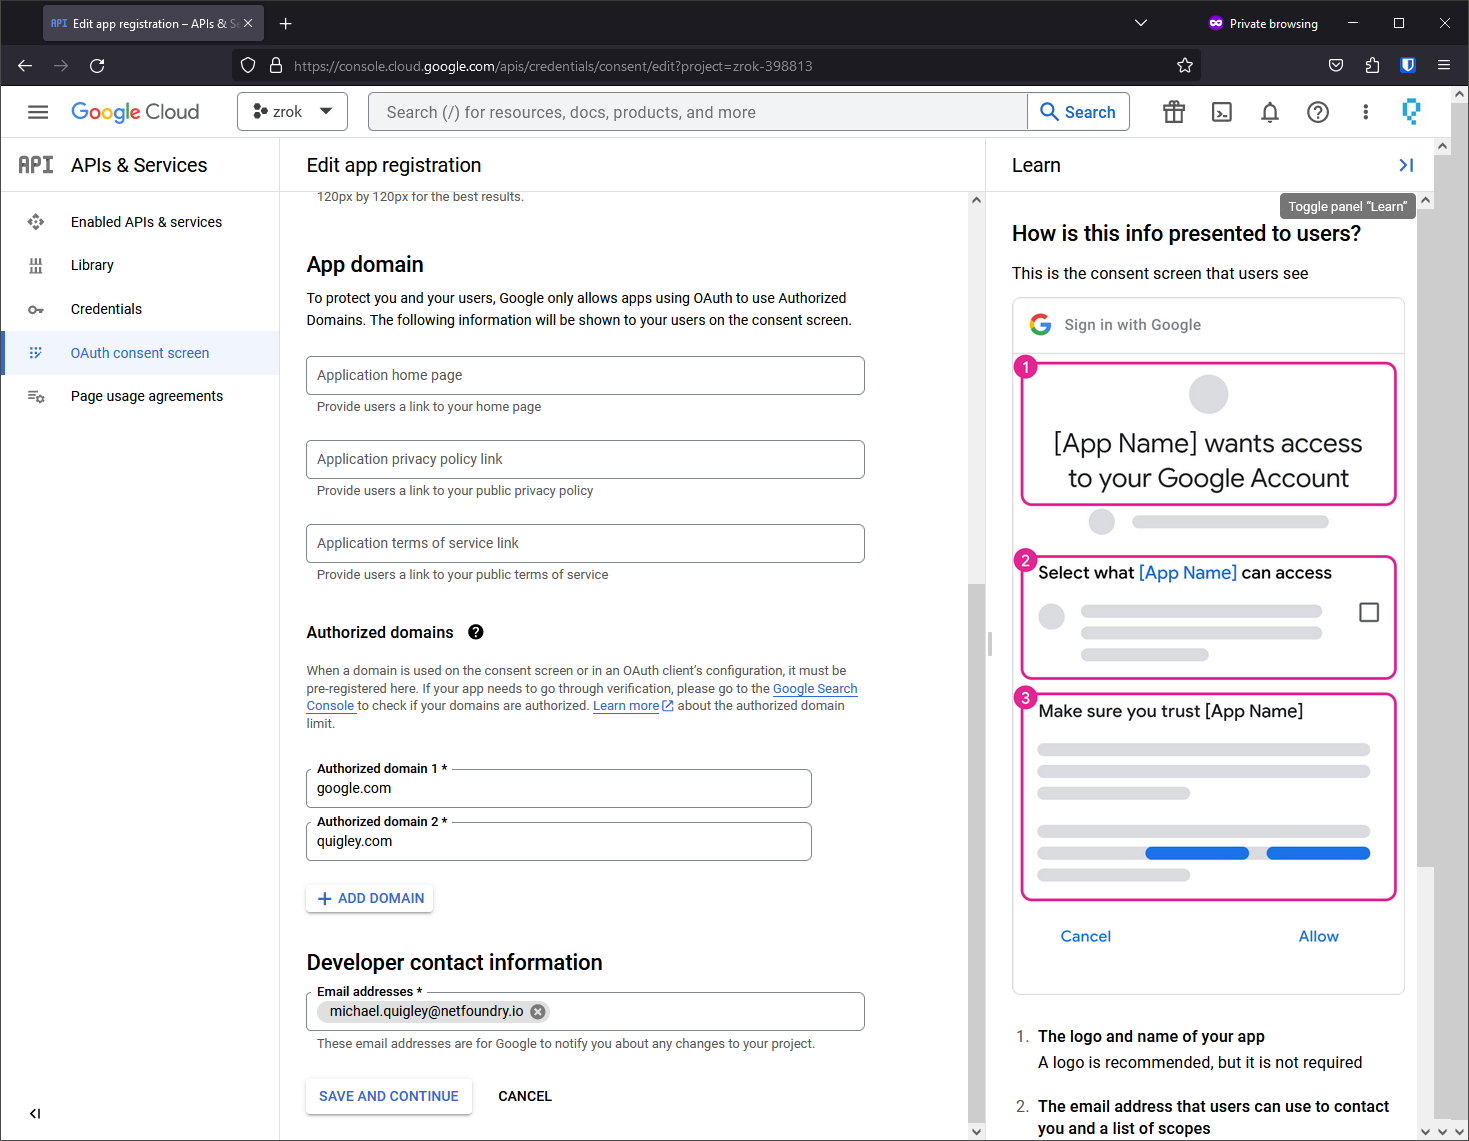
Describe what domains are authorized to access your public frontend and establish contact information.
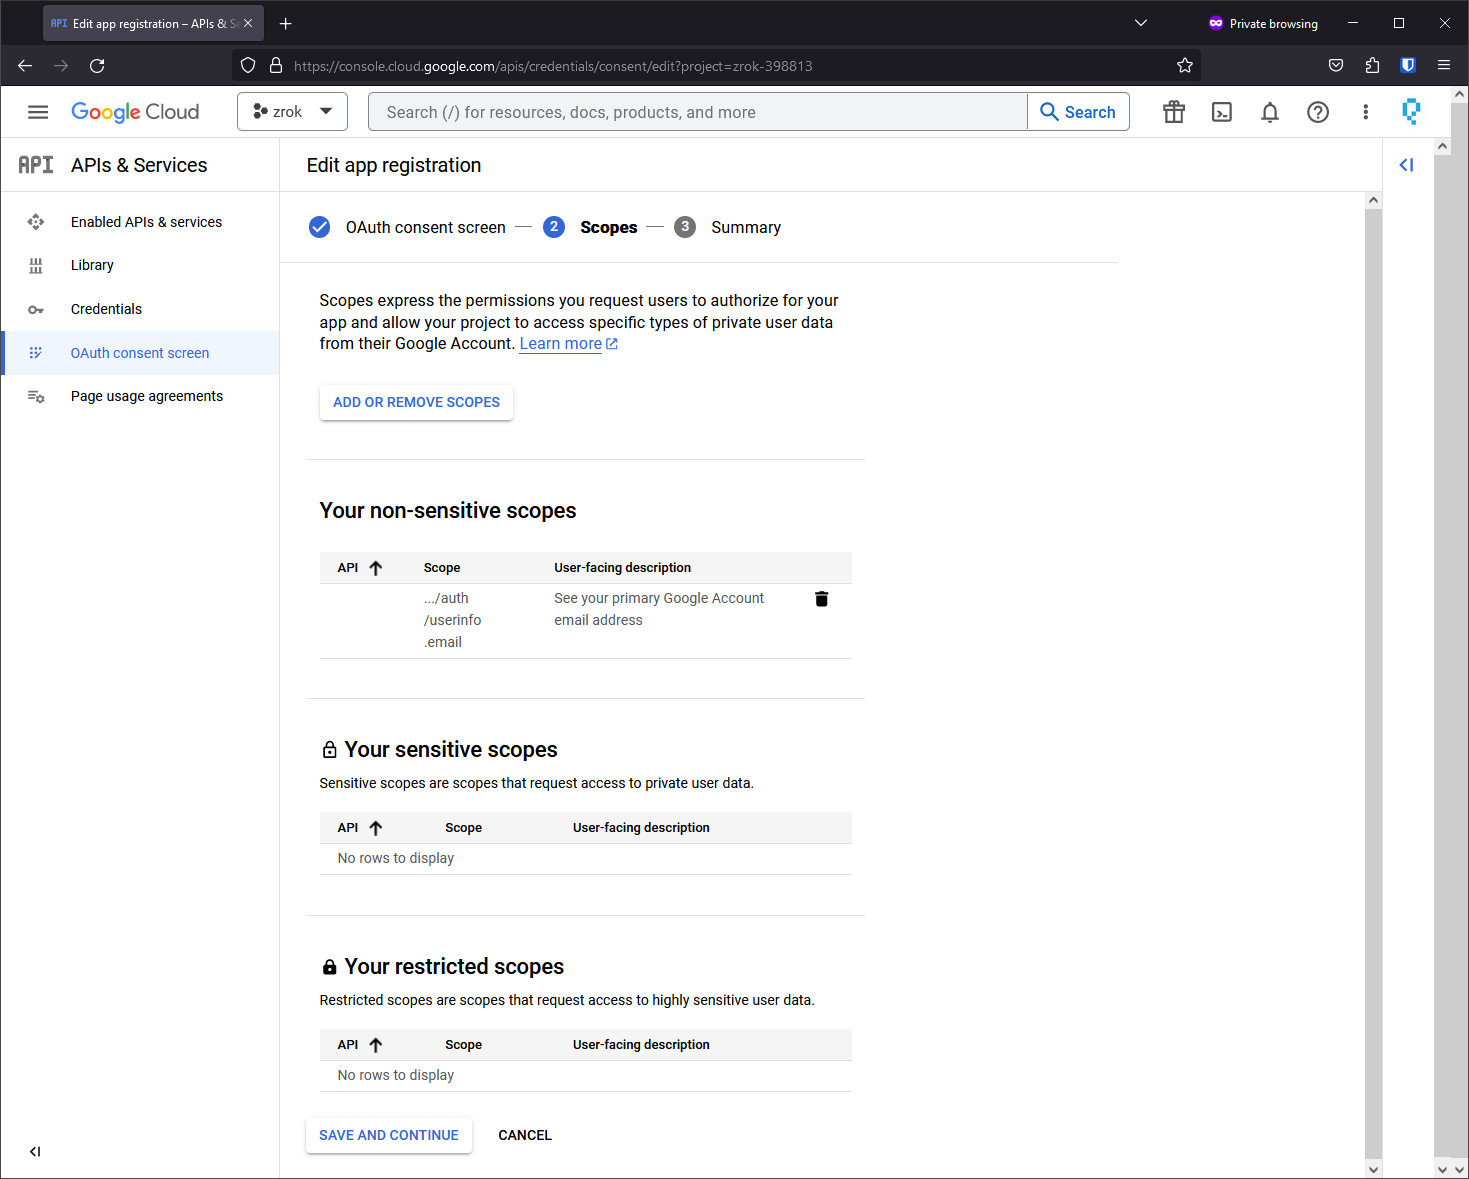
Add a non-sensitive scope for ../auth/userinfo.email. This is important as it allows the zrok OAuth frontend to receive the email address of the authenticated user.
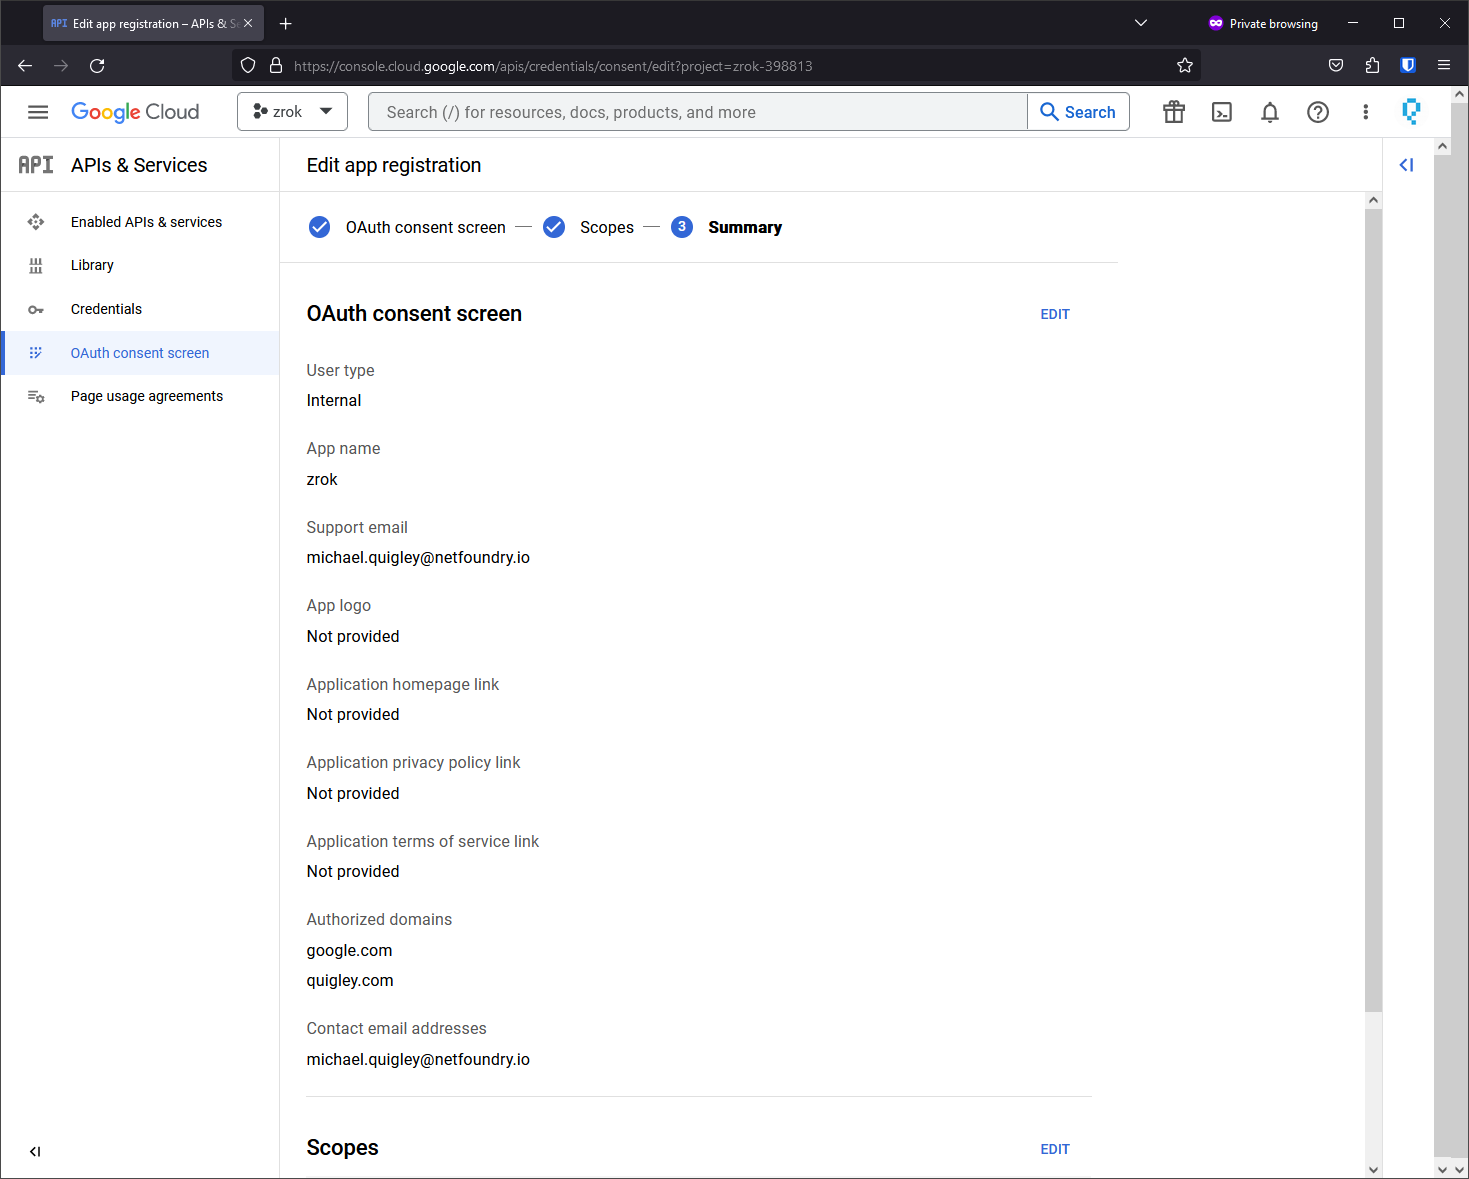
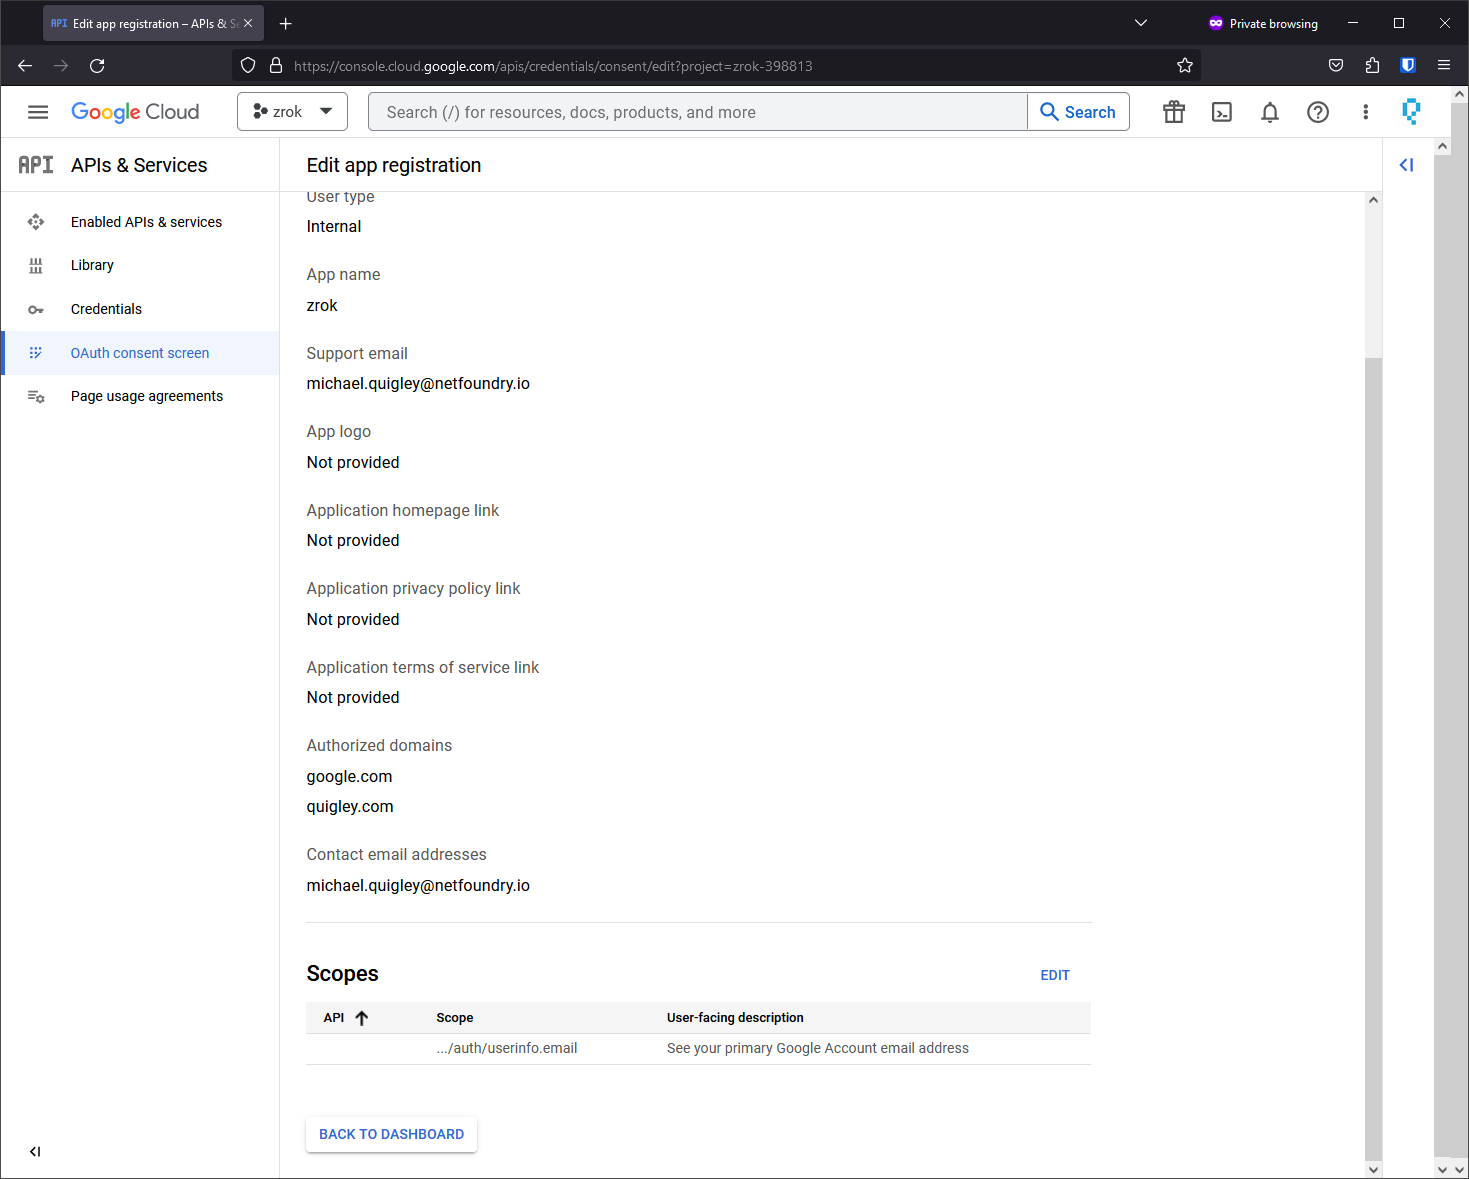
Now your OAuth content screen is configured.
Create the OAuth 2.0 Client ID
Next we create the OAuth Client ID for your public frontend.
In the Google Cloud Console, navigate to: APIs & Services > Credentials > + Create Credentials
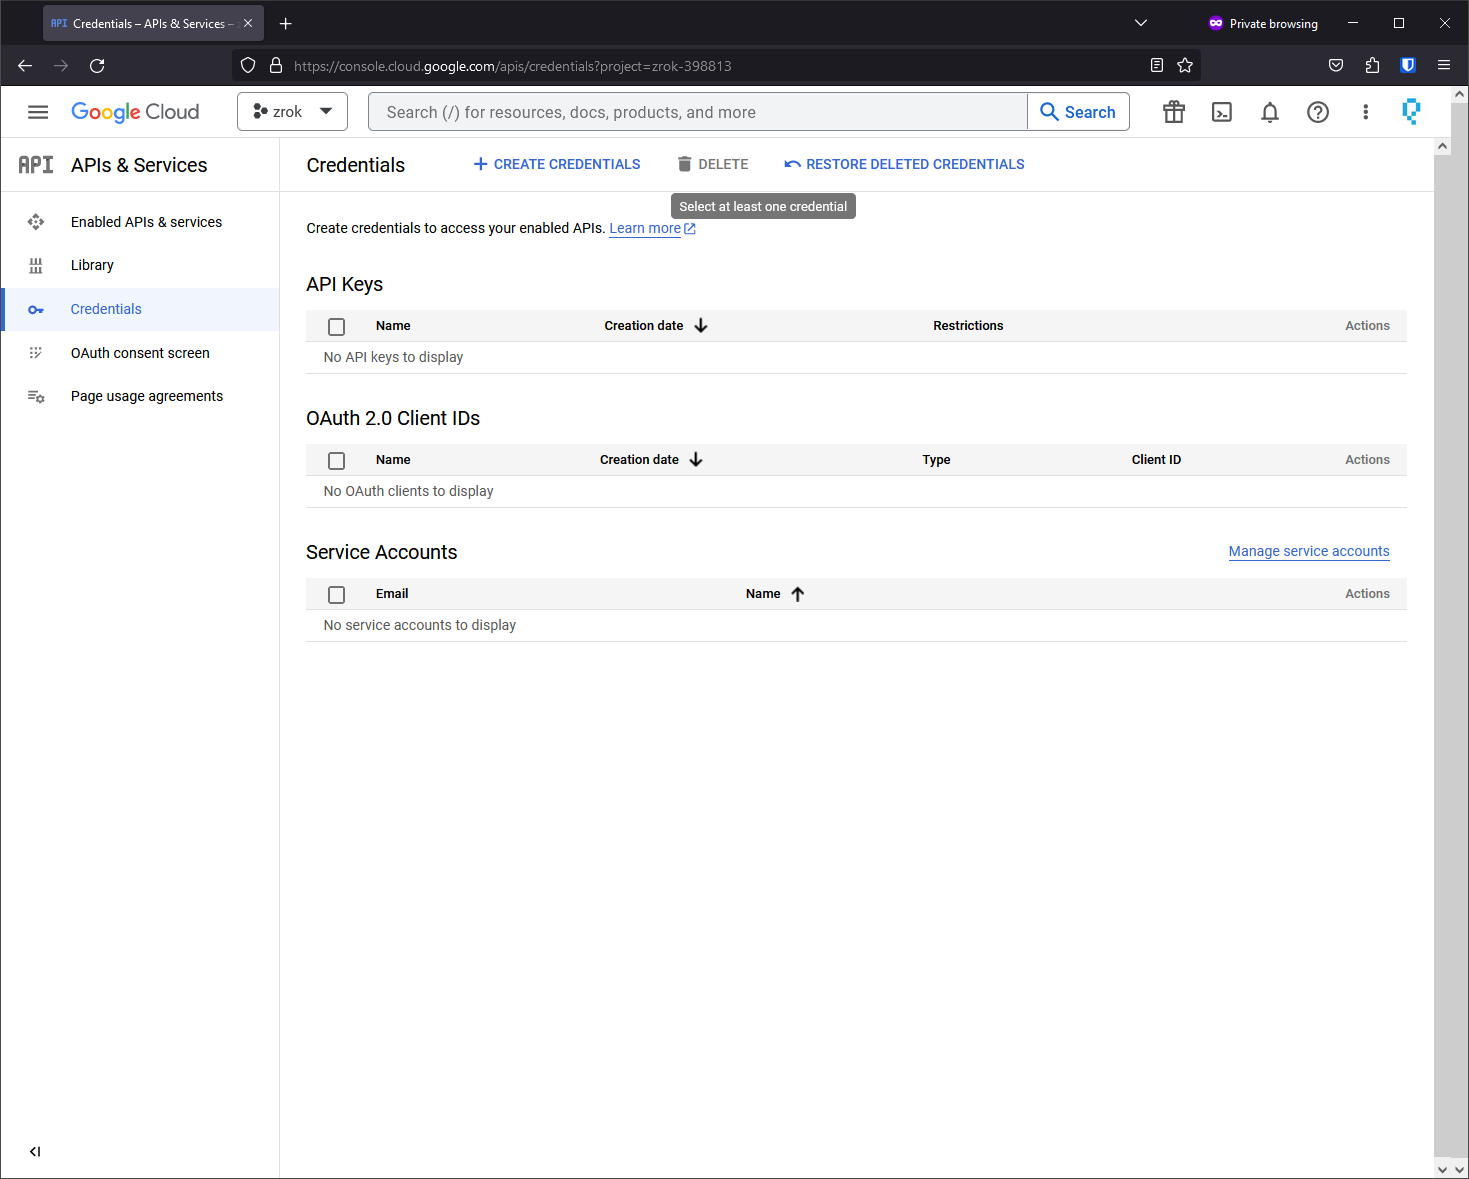
Select OAuth client ID from the + Create Credentials dropdown.

Application type is Web Application.
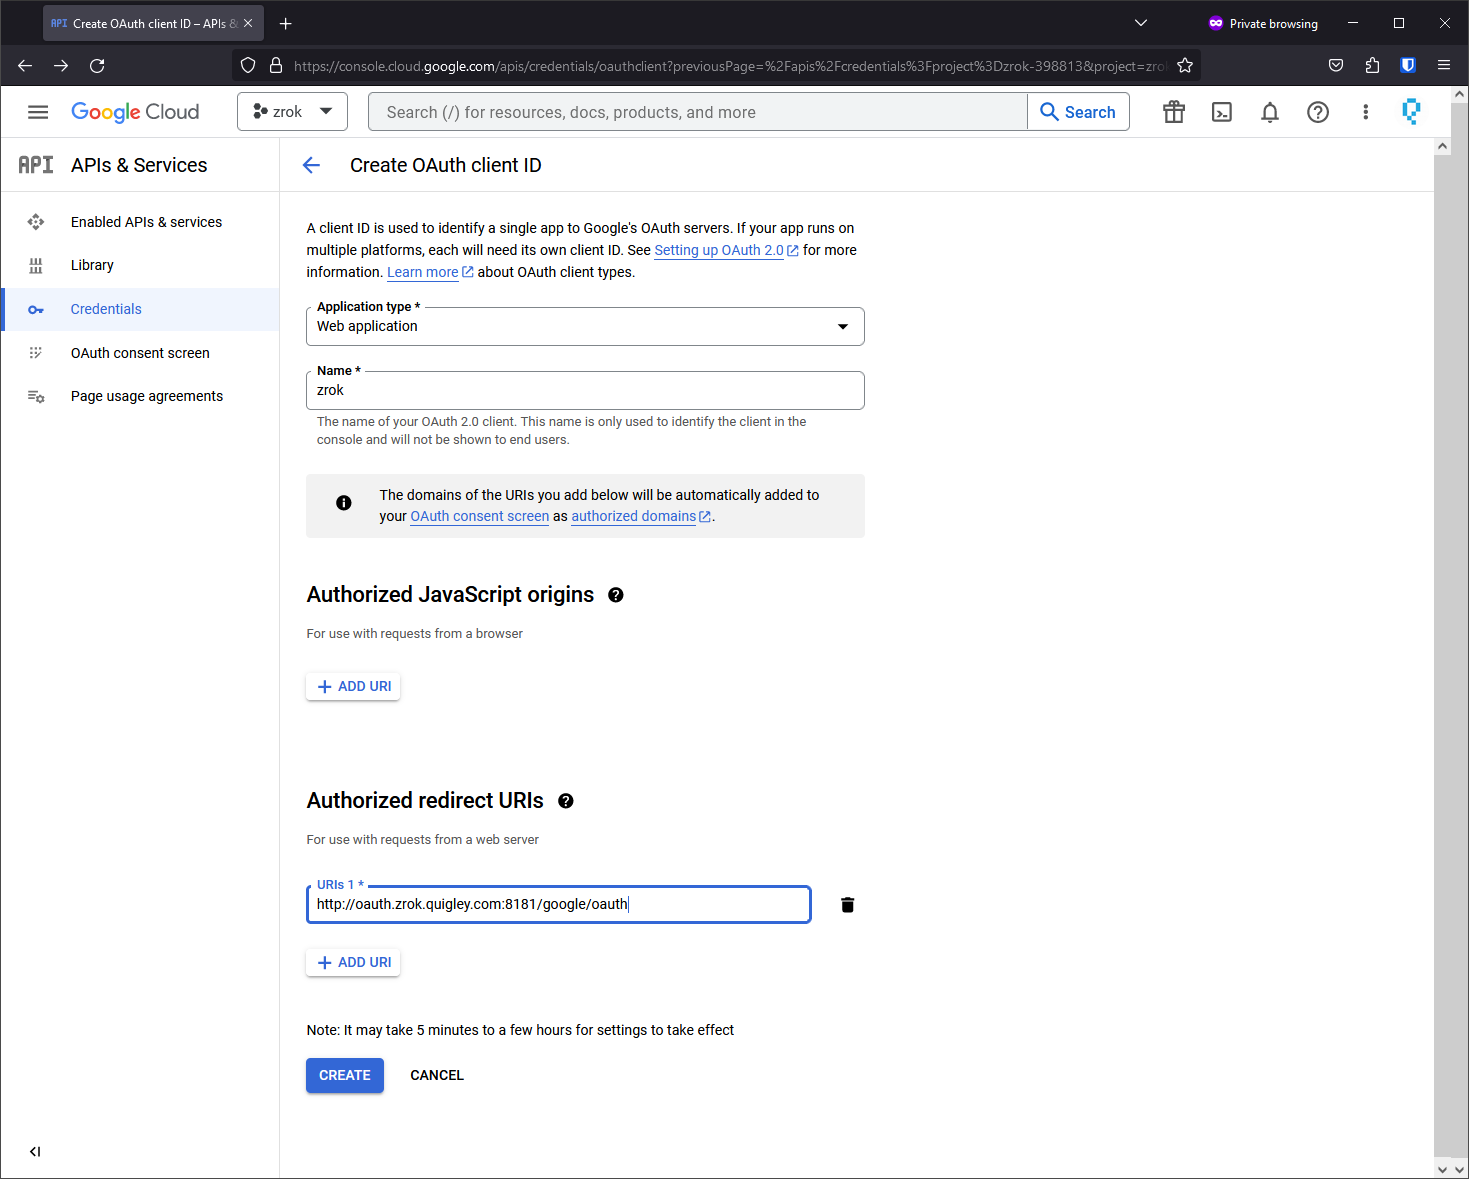
The most important bit here is the "Authorized redirect URIs". You're going to want to put a URL here that matches the zrok OAuth frontend address that you configured at the start of this guide, but at the end of the URL you're going to append /google/oauth to the URL.
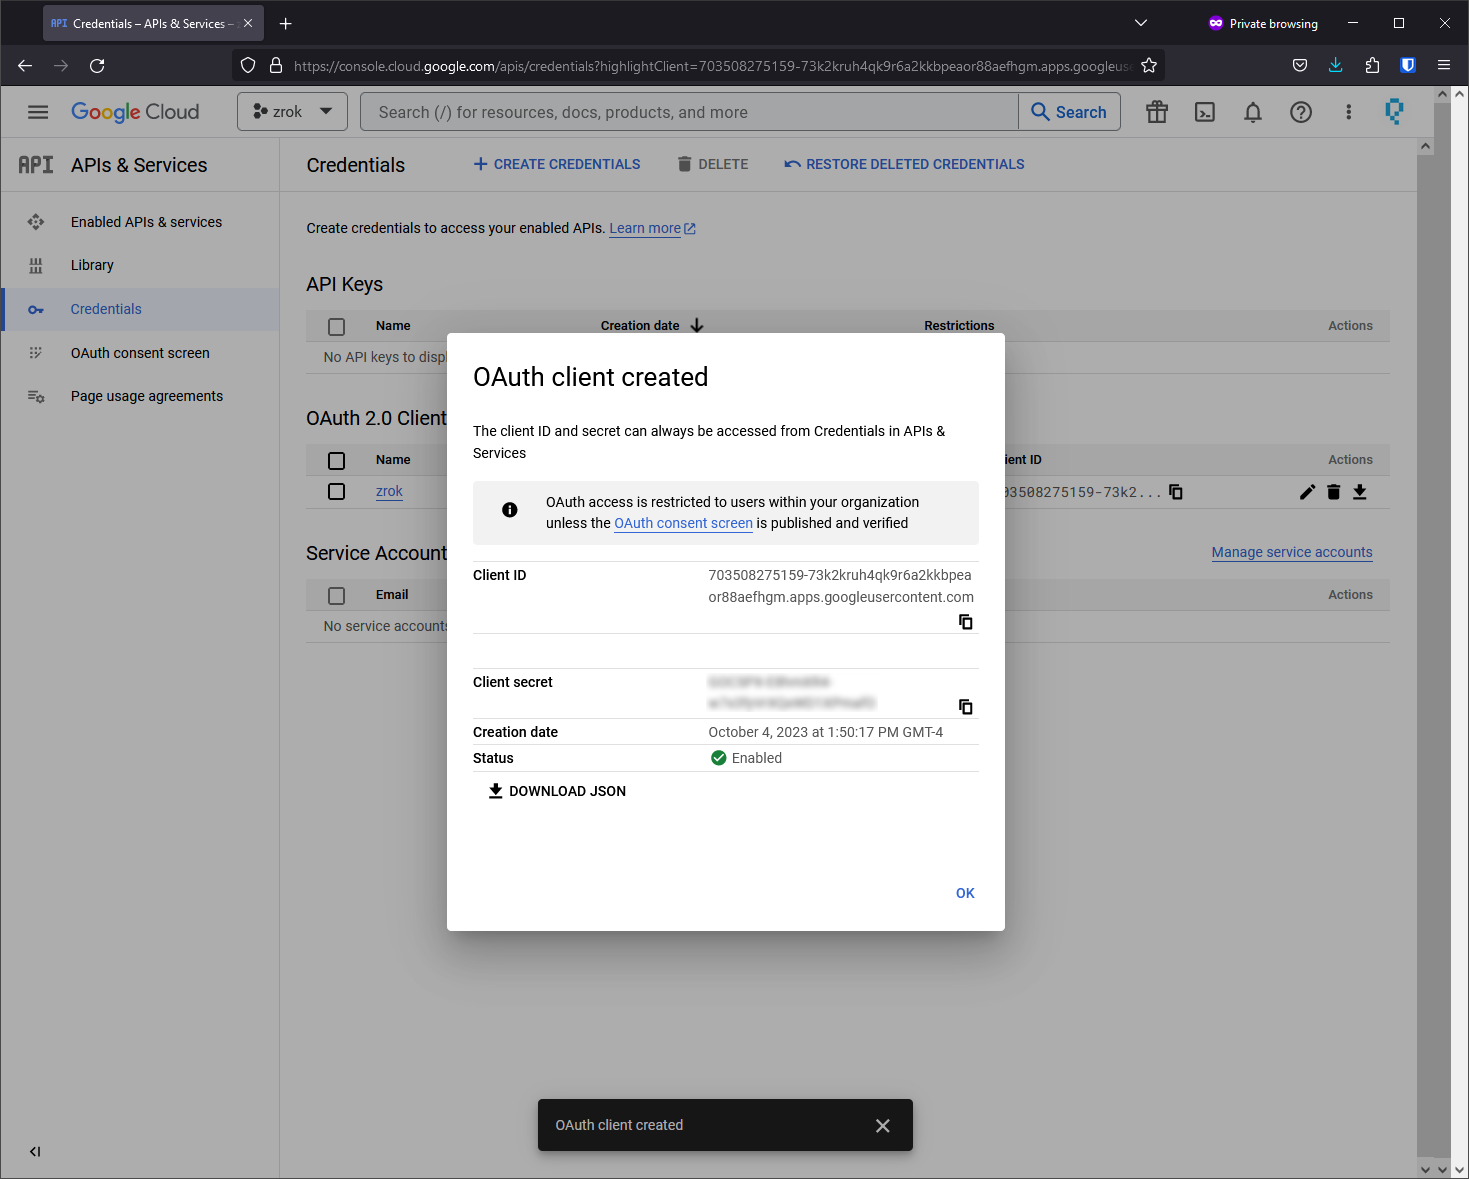
Save the client ID and the client secret. You'll configure these into your frontend.yml.
With this your Google OAuth client should be configured and ready.
Configuring a GitHub Client ID
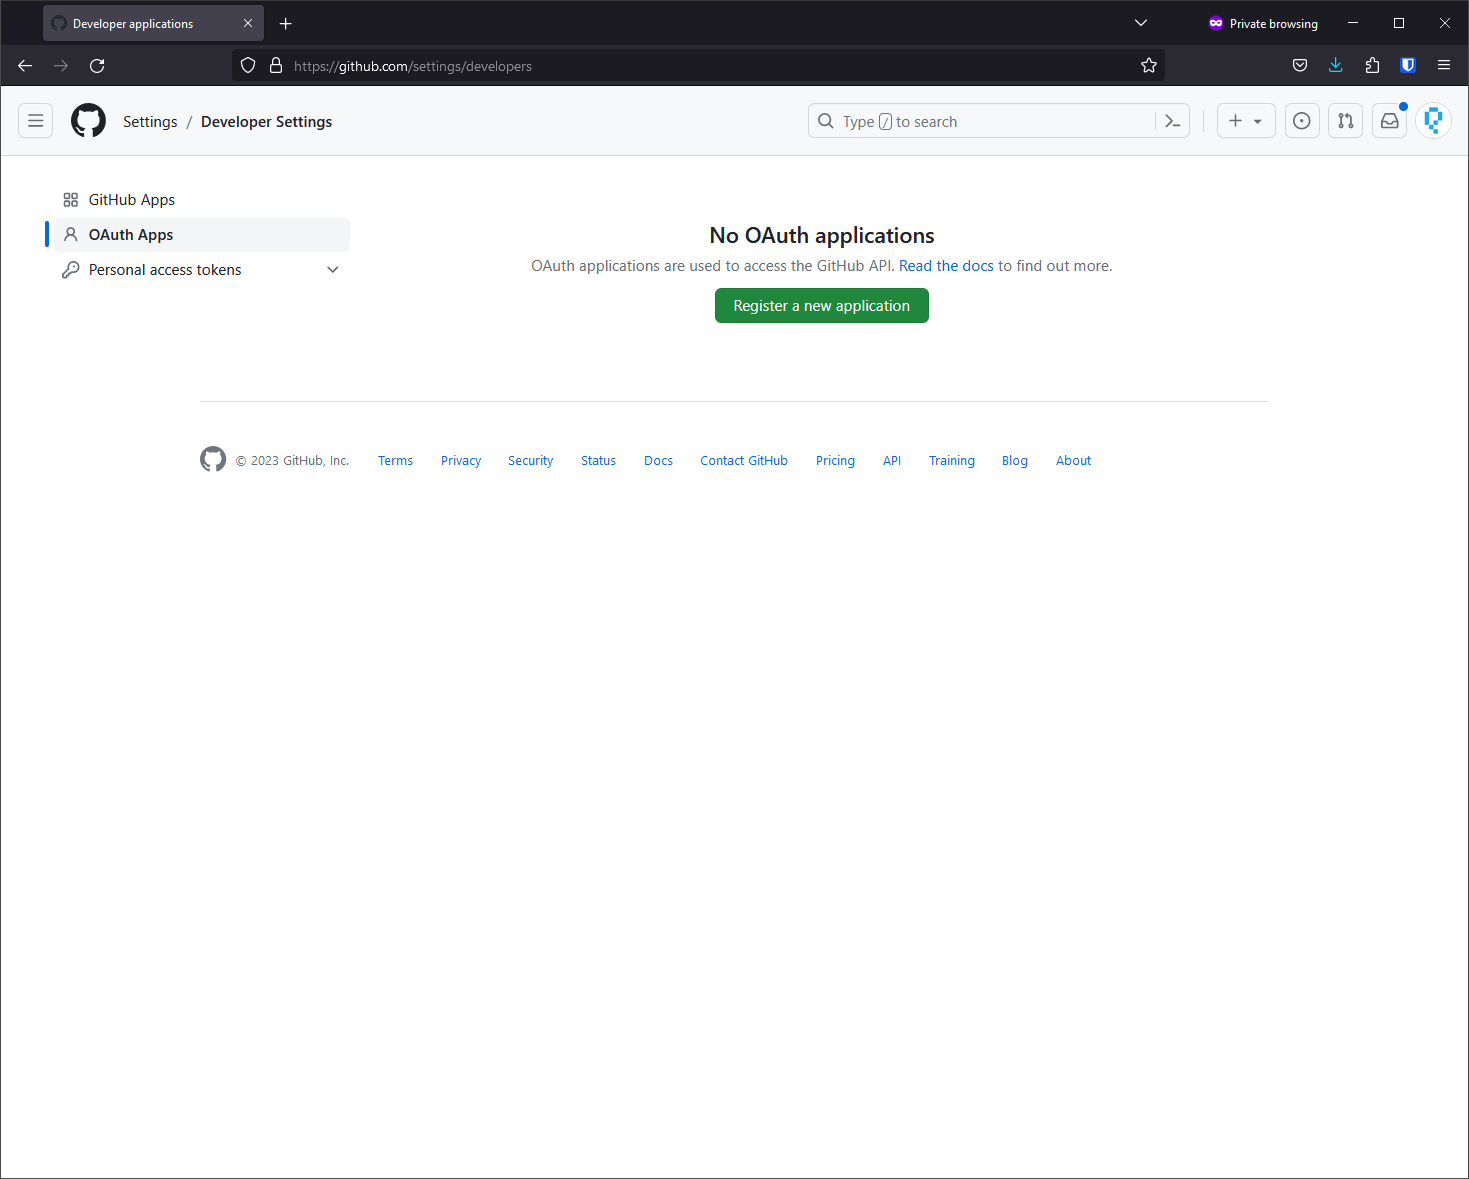
Register a new OAuth application through the GitHub settings for the account that owns the application.
Navigate to:Settings > Developer Settings > OAuth Apps > Register a new application
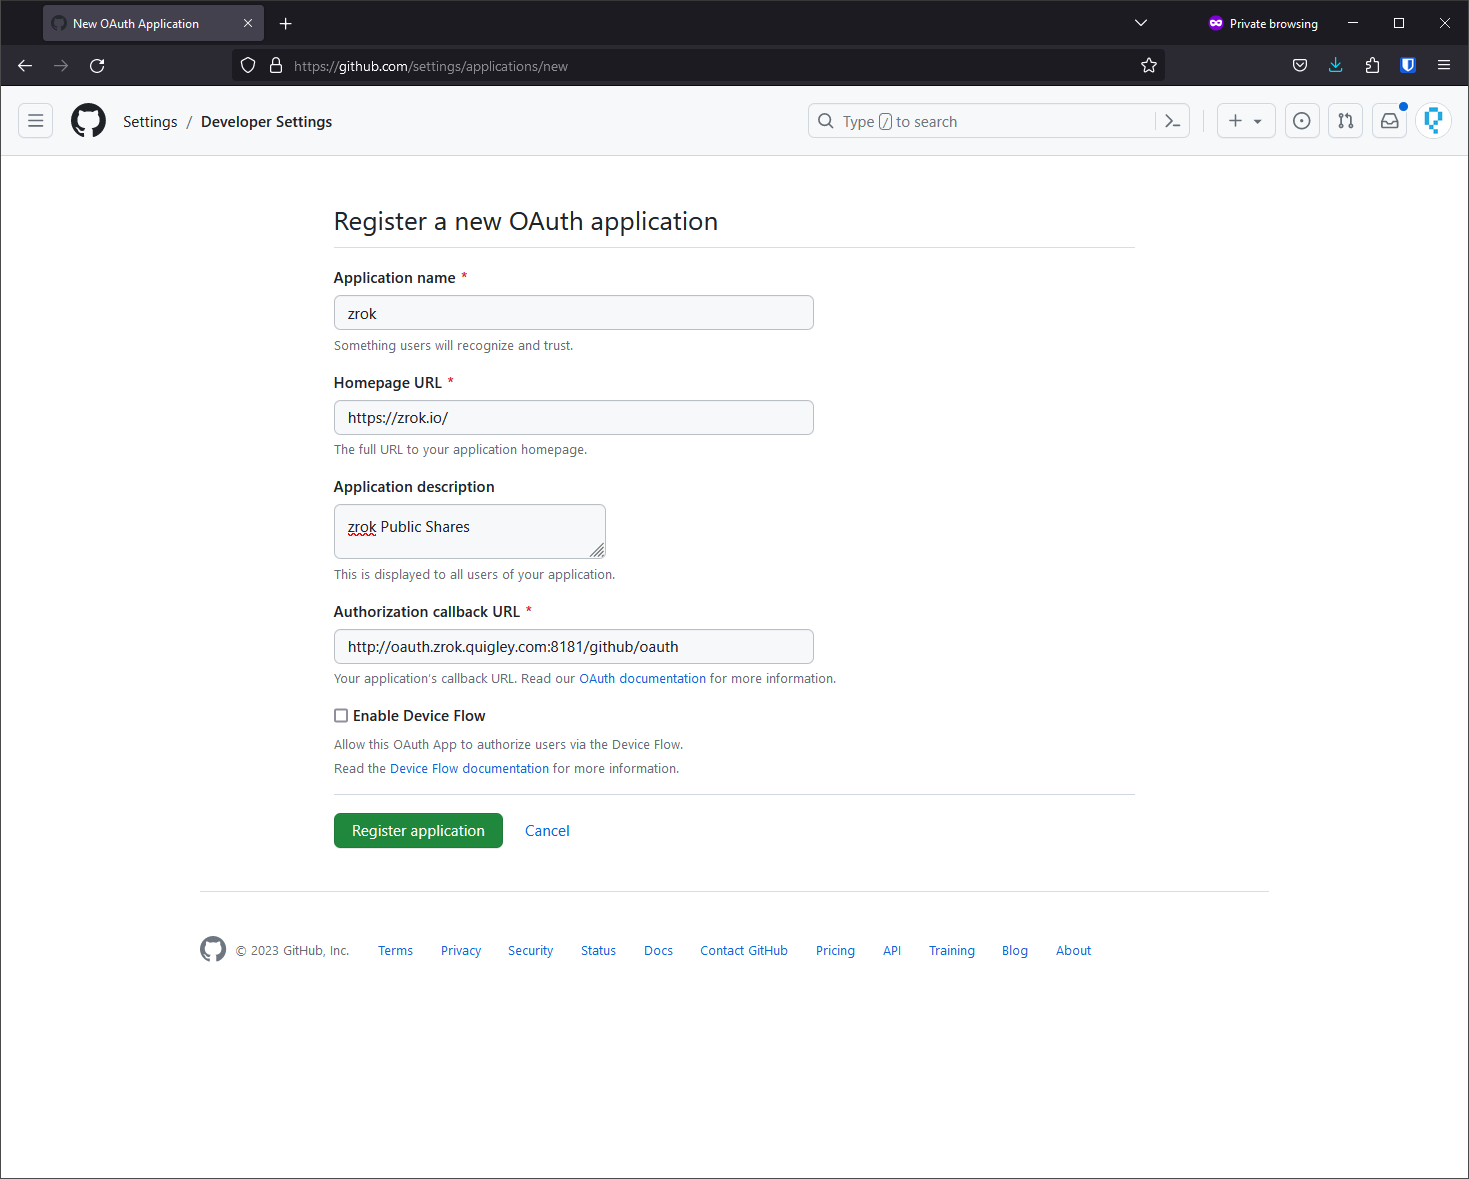
The "Authorized callback URL" should be configured to match the OAuth frontend address you configured at the start of this guide, with /github/oauth appended to the end.
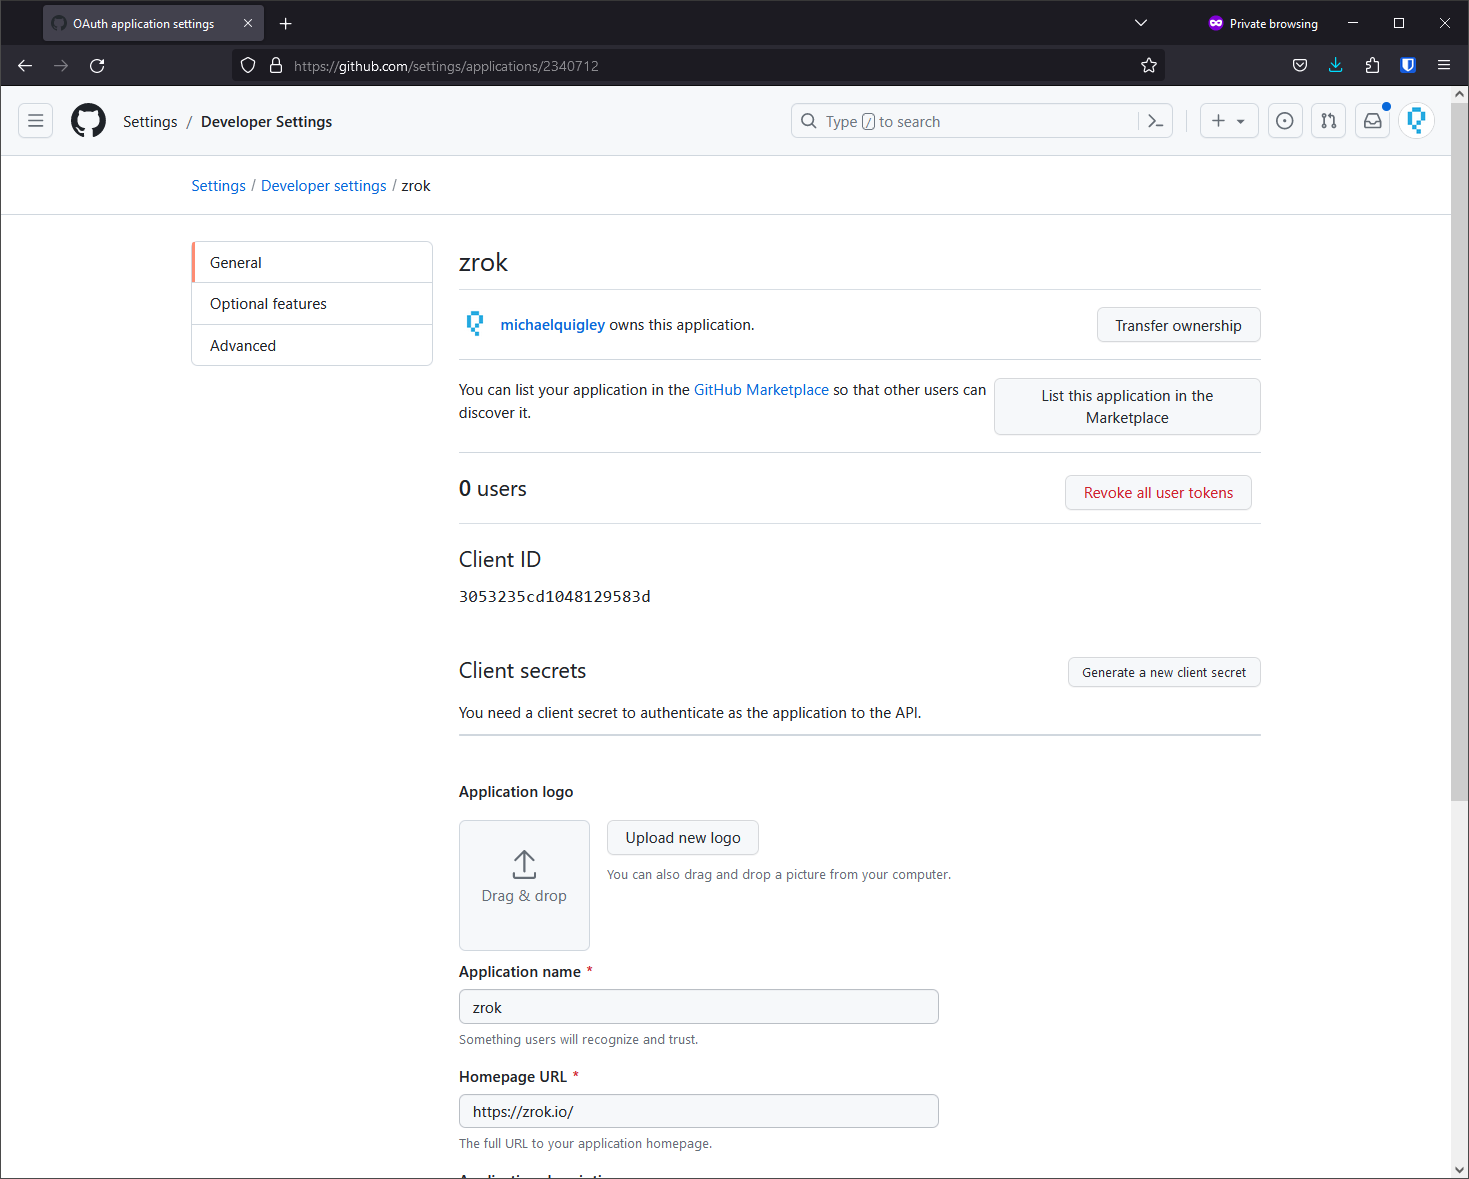
Create a new client secret.
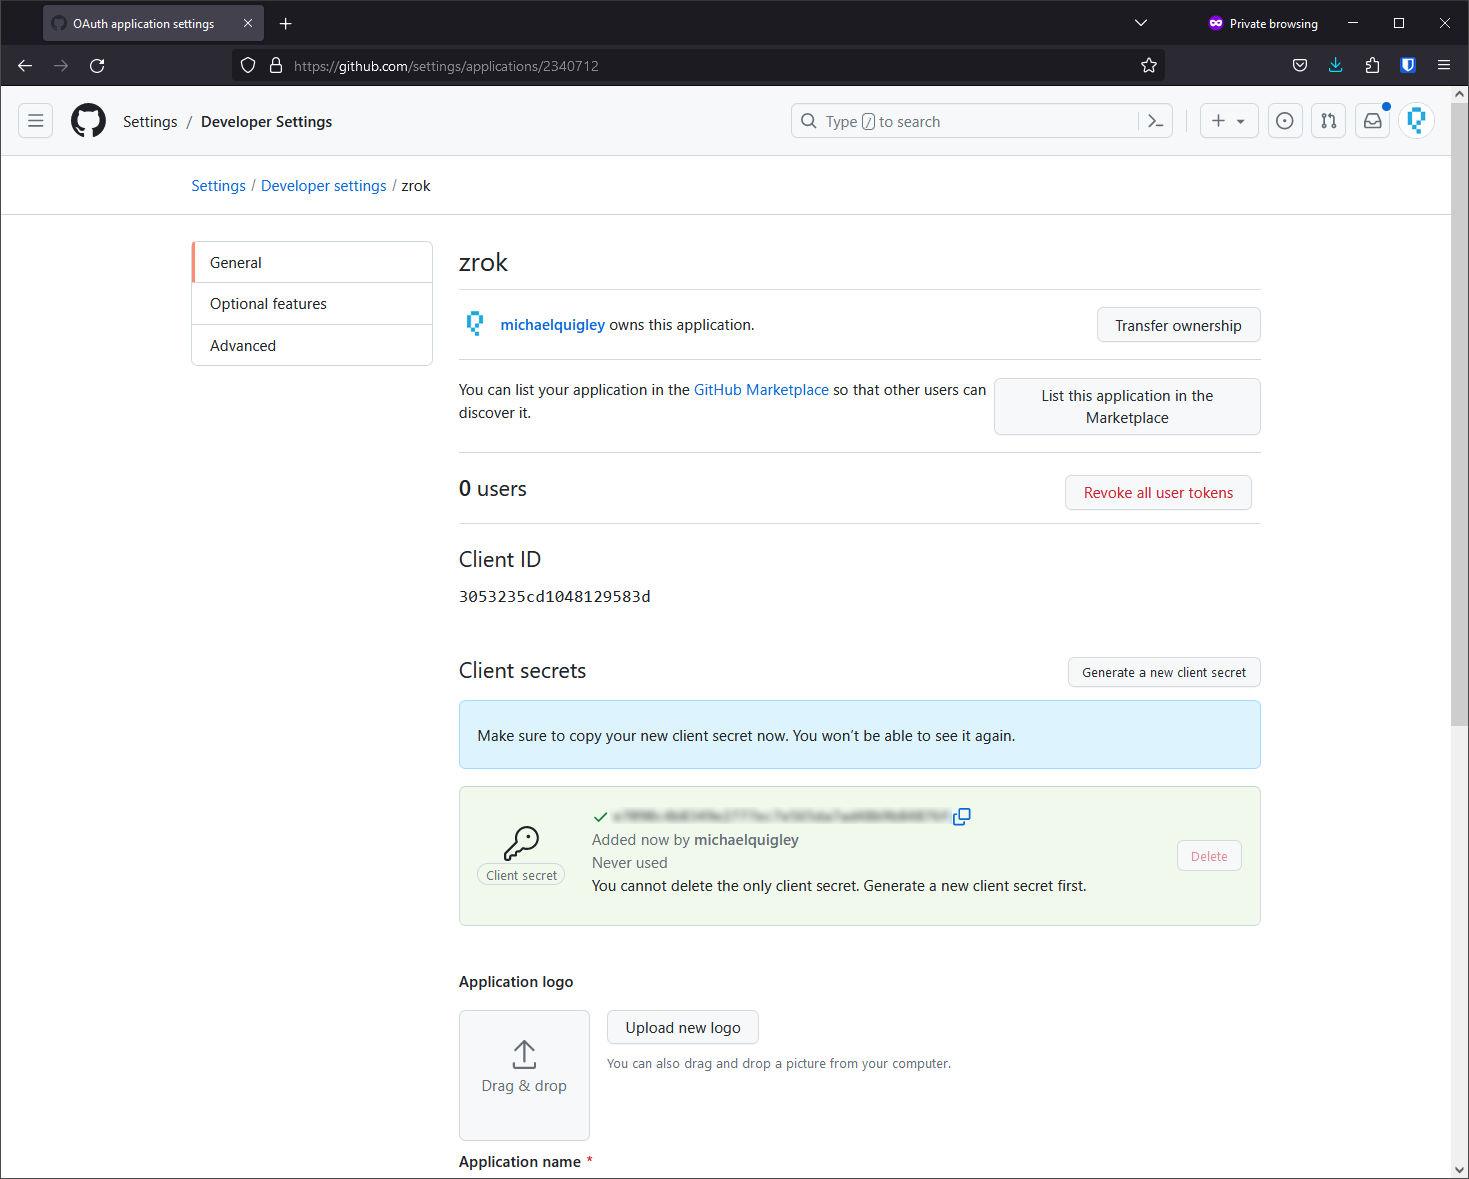
Save the client ID and the client secret. You'll configure these into your frontend.yml.
Configuring your Public Frontend
The public frontend configuration includes a new oauth section:
oauth:
  bind_address:                   0.0.0.0:8181
  redirect_url:                   https://oauth.zrok.io
  cookie_domain:                  zrok.io
  hash_key:                       "the quick brown fox jumped over the lazy dog"
  providers:
    - name:                       google
      client_id:                  "<client id from google>"
      client_secret:              "<client secret from google>"
    - name:                       github
      client_id:                  "<client id from github>"
      client_secret:              "<client secret from github>"
The bind_address parameter determines where the OAuth frontend will bind. Should be in ip:port format.
The redirect_url parameter determines the base URL where OAuth frontend requests will be redirected.
cookie_domain is the domain where authentication cookies should be stored.
hash_key is a unique string for your installation that is used to secure the authentication payloads for your public frontend.
providers is a list of configured providers for this public frontend. The current implementation supports google and github as options.
Both the google and github providers accept a client_id and client_secret parameter. These values are provided when you configure the OAuth clients at Google or GitHub.
Enabling OAuth on a Public Share
With your public frontend configured to support OAuth, you can test this by creating a public share. There are new command line options to support this:
$ zrok share public --help
Share a target resource publicly

Usage:
  zrok share public <target> [flags]

Flags:
  -b, --backend-mode string                        The backend mode {proxy, web, caddy, drive} (default "proxy")
      --basic-auth stringArray                     Basic authentication users (<username:password>,...)
      --frontends stringArray                      Selected frontends to use for the share (default [public])
      --headless                                   Disable TUI and run headless
  -h, --help                                       help for public
      --insecure                                   Enable insecure TLS certificate validation for <target>
      --oauth-check-interval duration              Maximum lifetime for OAuth authentication; reauthenticate after expiry (default 3h0m0s)
      --oauth-email-address-patterns stringArray   Allow only these email domain globs to authenticate via OAuth
      --oauth-provider string                      Enable OAuth provider [google, github]

Global Flags:
  -p, --panic     Panic instead of showing pretty errors
  -v, --verbose   Enable verbose logging
The --oauth-provider flag enables OAuth for the share using the specified provider.
The --oauth-email-address-patterns flag accepts a single glob pattern that matches an authenticated email address that is allowed to access the share. Use this flag multiple times to allow different patterns.
The --oauth-check-interval flag specifies how frequently the authentication must be checked.
An example public share:
zrok share public --backend-mode web --oauth-provider github --oauth-email-address-patterns '*@zrok.io' ~/public