Invitations
This is how to set up self-service invitations for your users to get an account on your self-hosted zrok instance.
Overview
- You can create user accounts directly with the
zrok admin create accountCLI or API instead of inviting them. - You can welcome users to invite themselves via email.
- To enable self-service invitations you must also configure the controller to send email.
- You can require an invitation token if you want to restrict self-service.
The Self-Service User Experience
This is what your users will do.
zrok invite
How it Works
The zrok invite command presents a small form that allows you to enter (and then confirm) your email address. Tabbing to the [ Submit ] button will start the invitation process.
Next, check the email where you sent the invite. You should receive a message asking you to click a link to create your zrok account. When you click that link, you will be brought to a web page that will allow you to set a password for your new account.
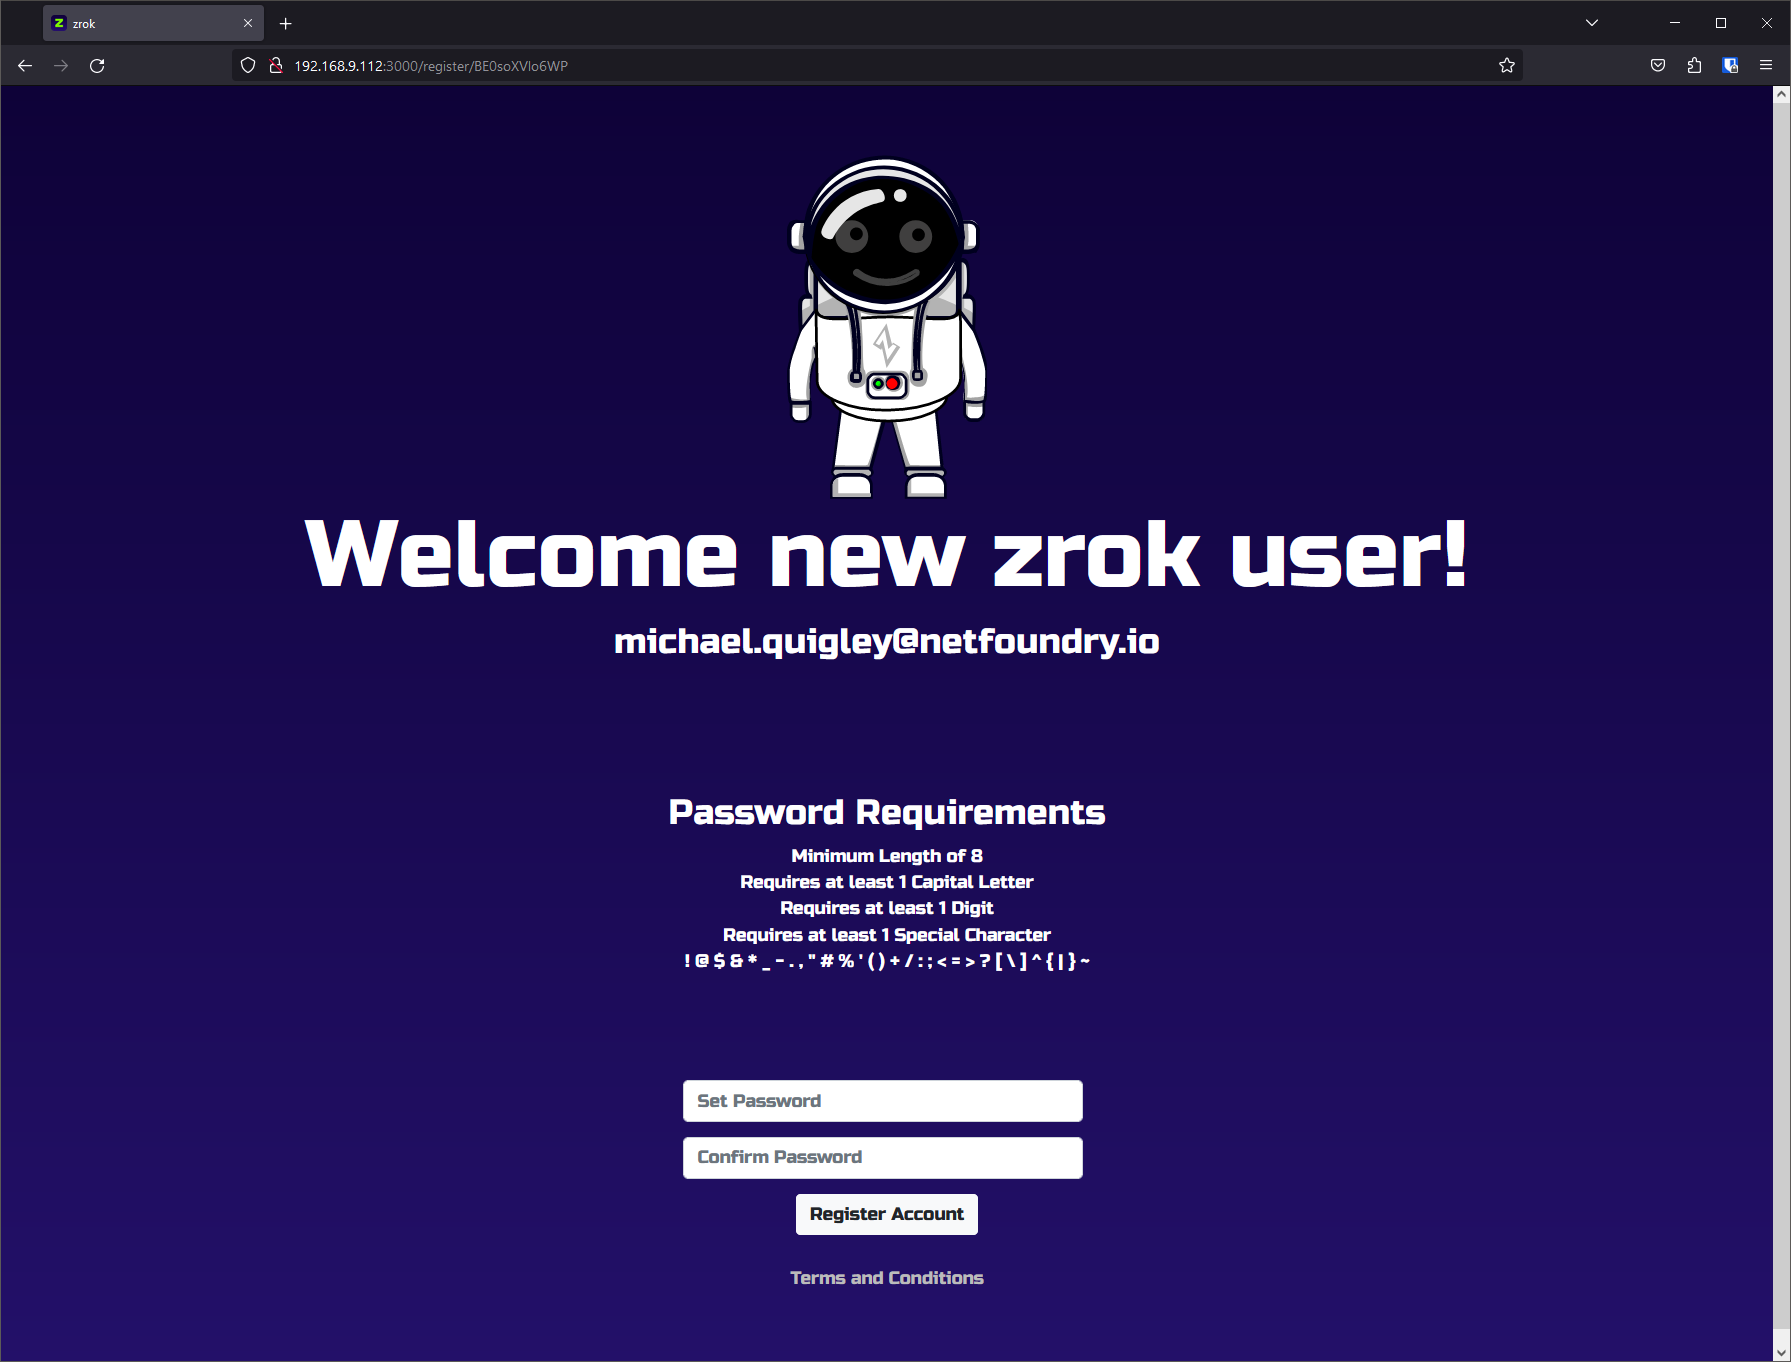
Enter a password and its confirmation, and click the Register Account button. You'll see the following:
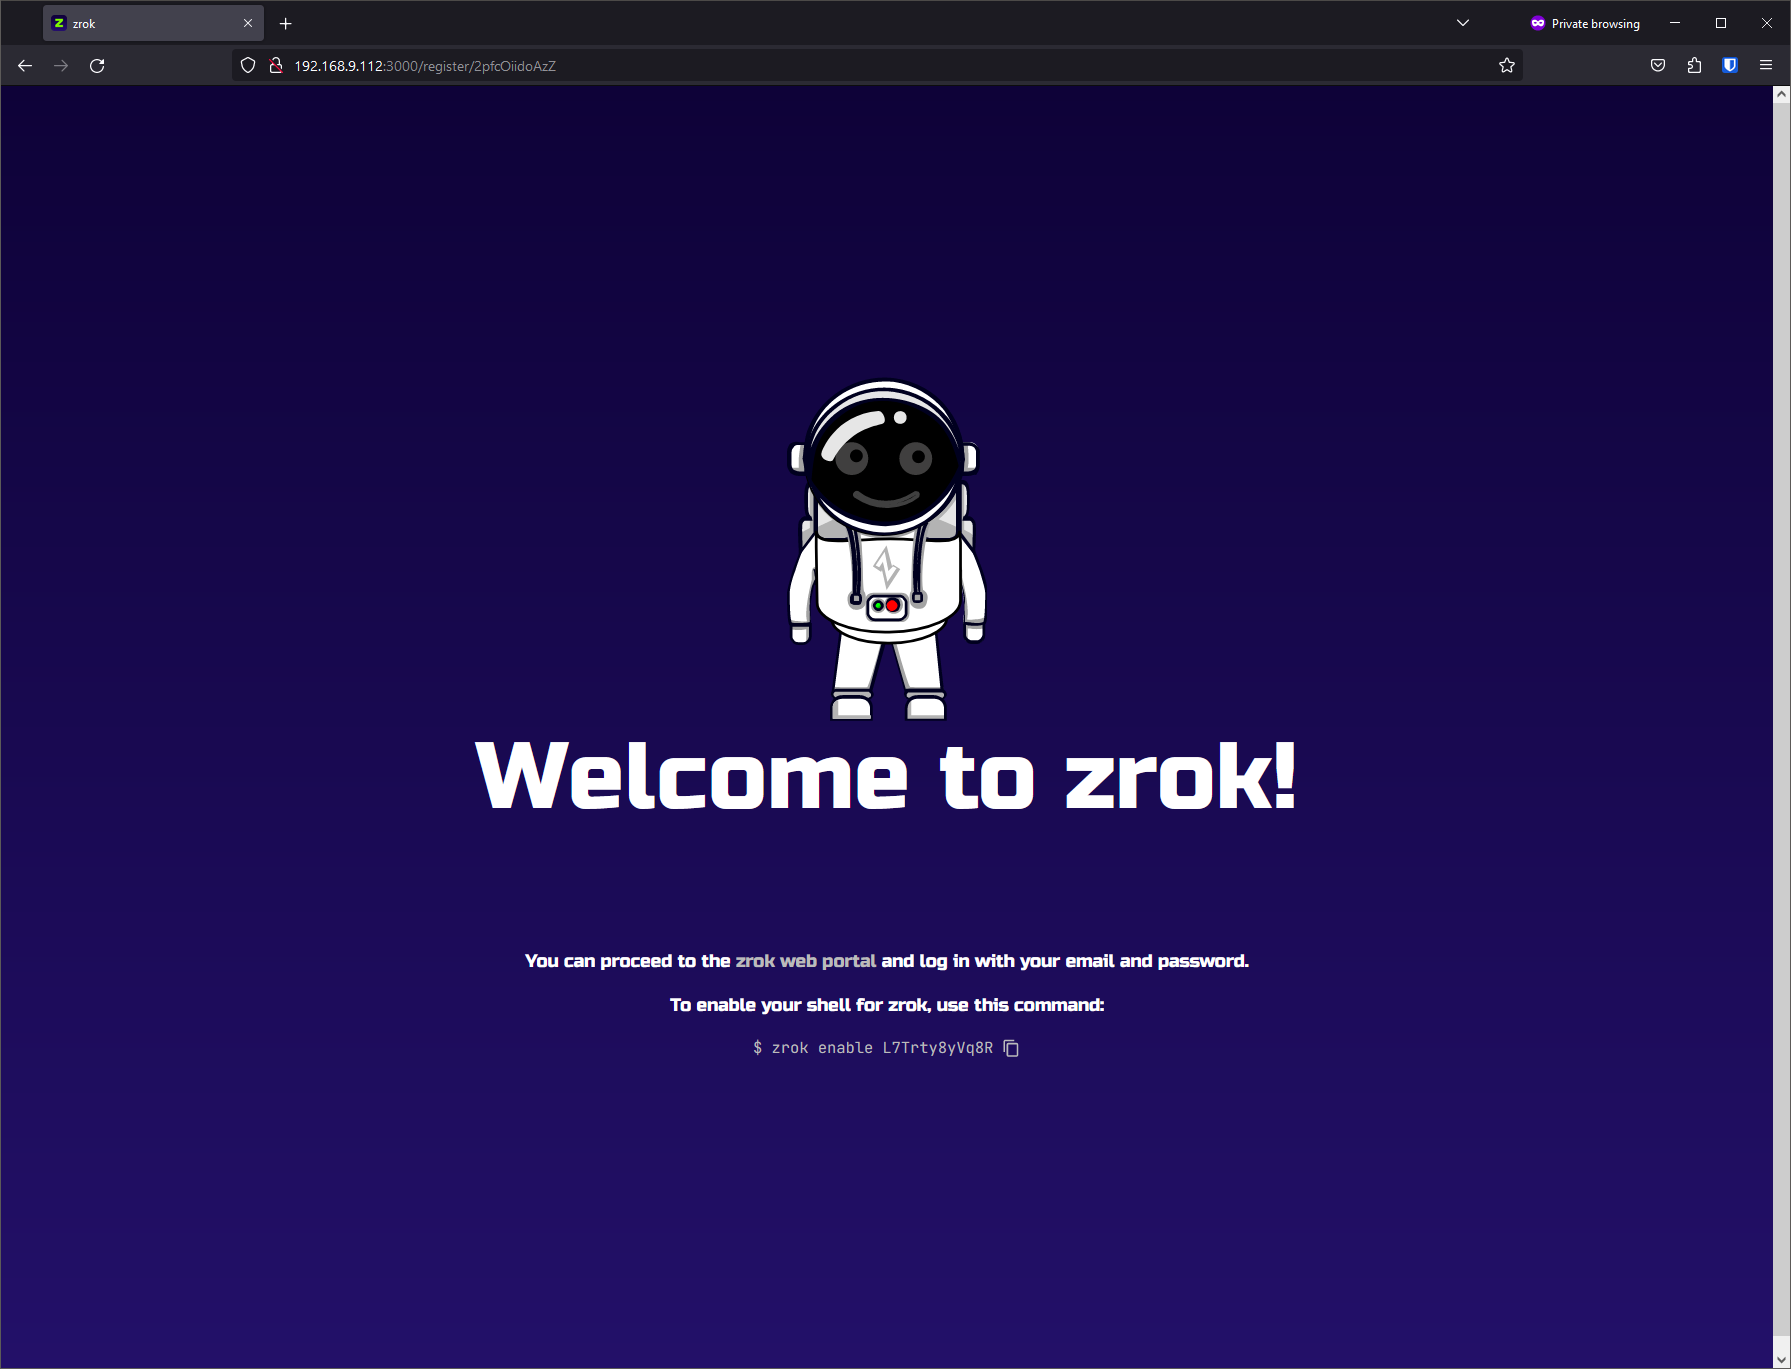
For now, we'll ignore the "enable your shell for zrok" section. Just click the zrok web portal link:
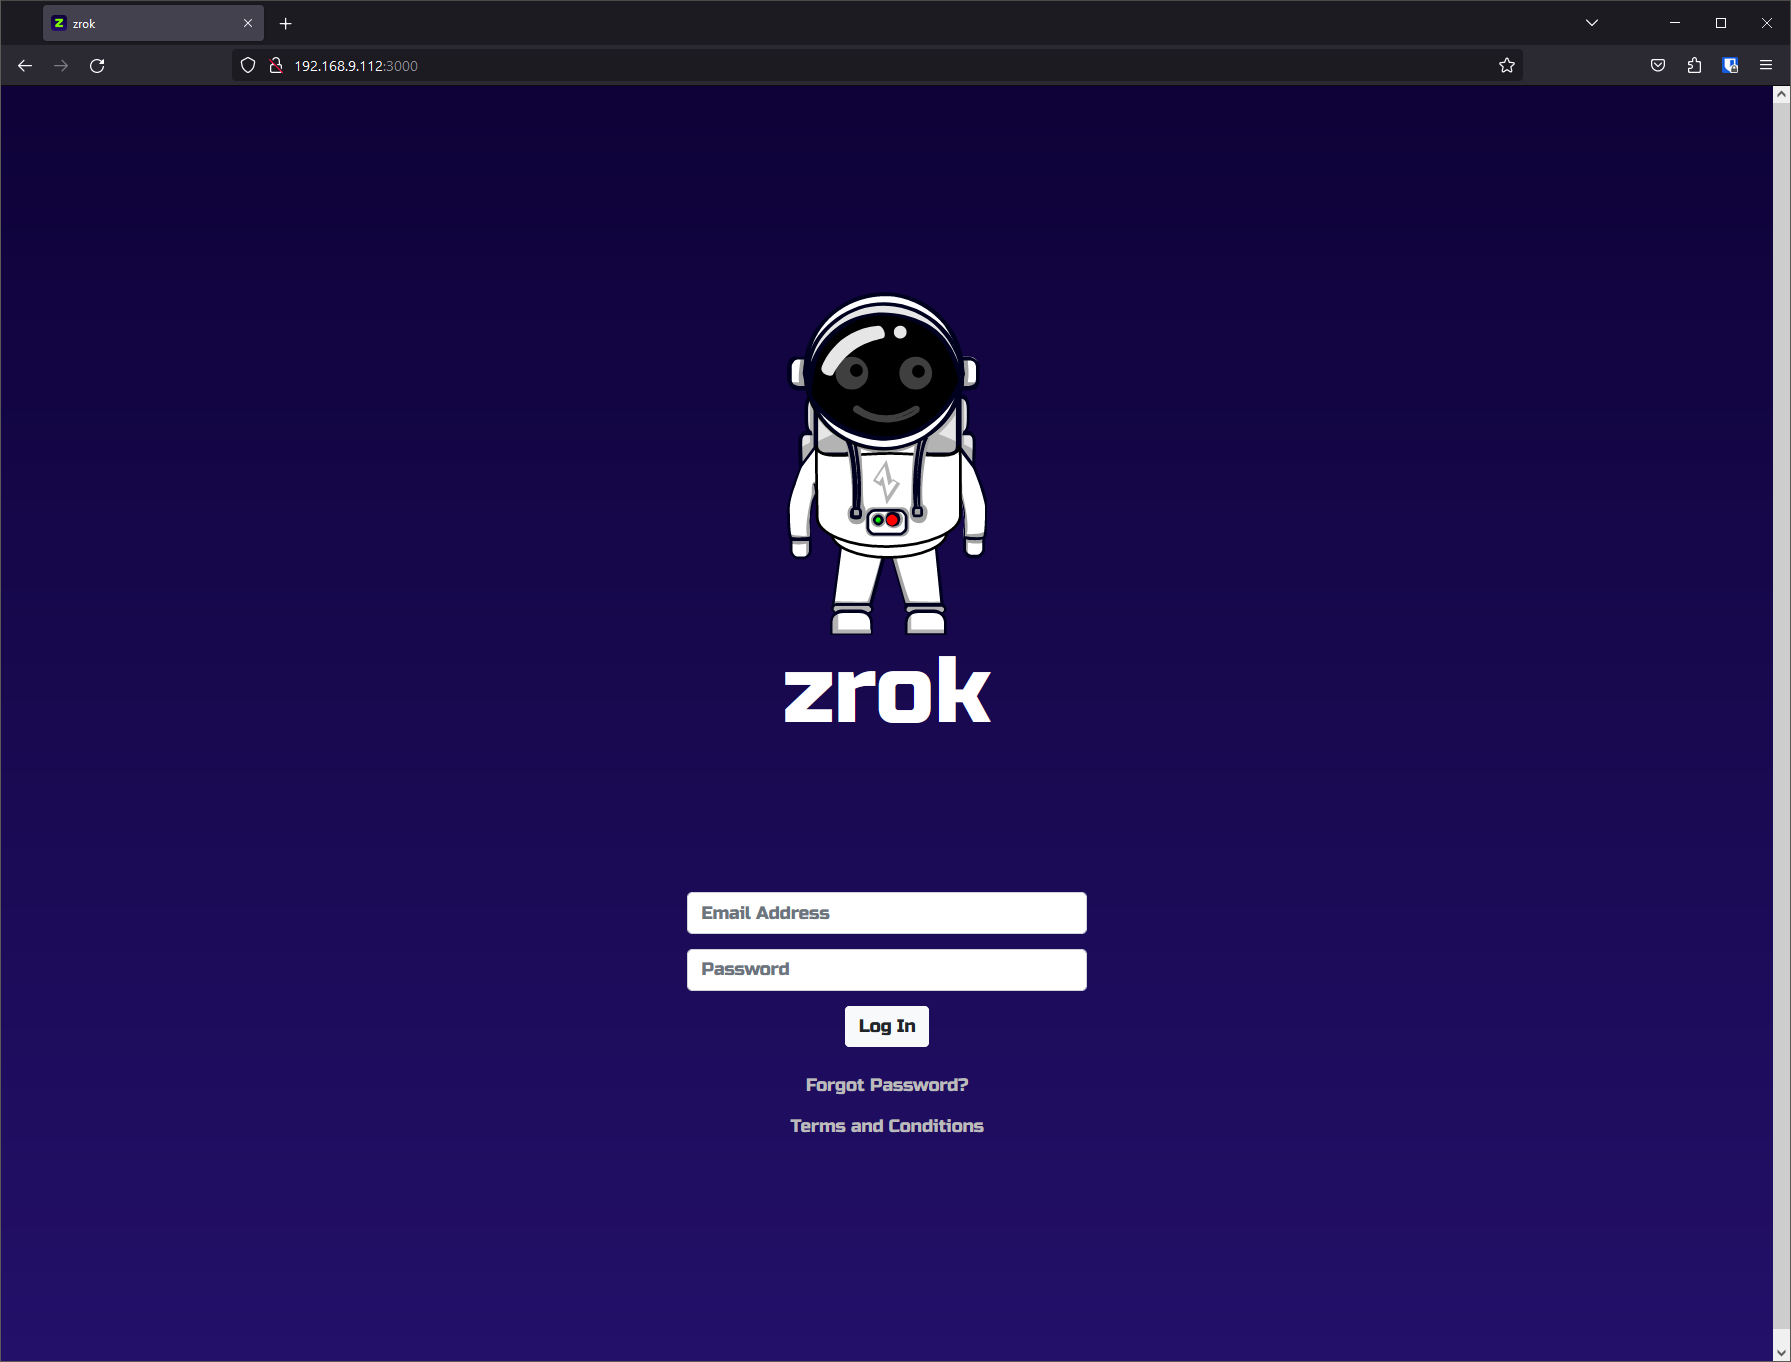
After clicking the Log In button, you'll be brought into the zrok web console:
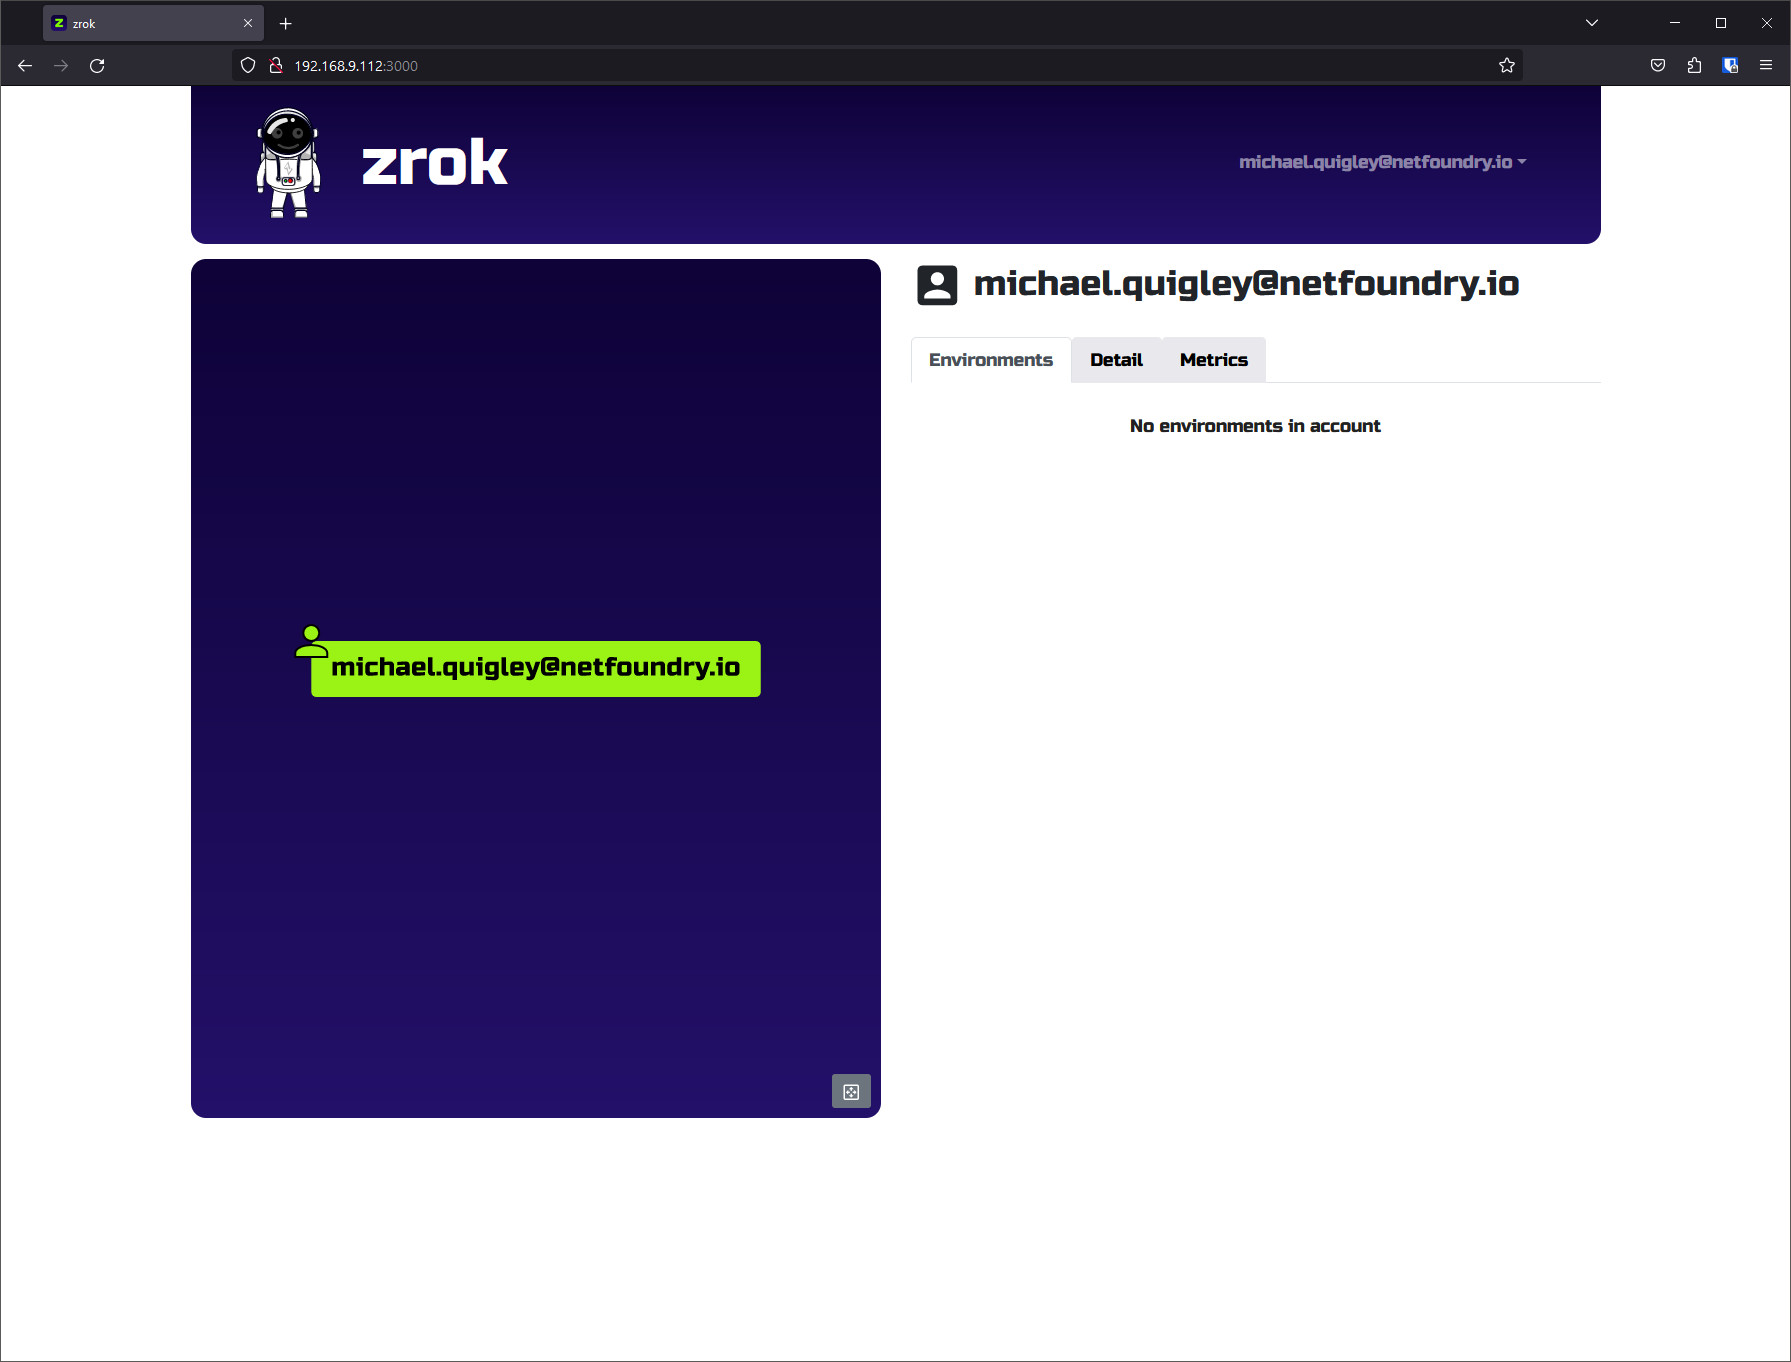
Congratulations! Your zrok account is ready to go!