Getting Started
Your Secure Internet Sharing Perimeter
zrok (/ziːɹɒk/ ZEE-rock) is a secure, open-source, self-hostable sharing platform that simplifies shielding and
sharing network services or files. zrok is built and maintained by NetFoundry and is available as a hardened "zrok-as-a-service"
at myzrok.io with a generous free tier.
What's it for?
Use zrok to share a running service, like a web server or a network socket, or to share a directory of static files. zrok goes beyond simple tunneling to provide sharing solutions for a variety of network and storage use cases.
When using zrok to share publicly, you can reserve a public hostname, enable authentication options, or both. Public shares proxy HTTPS to your service or files.
If sharing privately, only users with the share token (and the appropriate permission grants) can access your share. In addition to what you can share publicly, private shares can include TCP and UDP services.
Here's a quick overview of what's involved in getting started with zrok:
Your First Share
- Get an account token
Hosted zrok
Use NetFoundry's public zrok instance.
Self-Hosted zrok
Run a zrok instance on Linux, Docker, or Kubernetes.
-
Enable zrok for your environment
zrok enable <your_account_token> -
Share
http://localhost:8080zrok share public 8080 -
Visit the public URL displayed in your terminal
A Deeper Look at Getting Started
Here's a deeper, more thorough look at getting started with zrok:
Installing the zrok Command
Windows
macOS
Linux
Enabling Your zrok Environment
After you have an account, you can enable your zrok environment.
A zrok environment usually refers to an enabled device where shares and accesses can be created, .e.g., ~/.zrok on a Unix machine. It can be a specific user's environment or a system-wide agent's environment owned by the administrator.
When your zrok account was created, the service generated an account token that identifies and authenticates in a single step. Protect your account token as if it were a password, or an important account number; it's a secret, protect it.
When we left off you had downloaded, extracted, and configured your zrok software. In order to use that environment with your account, you'll need to enable an environment on your system. Enabling an environment generates a secure identity and the necessary underlying security policies with the OpenZiti network hosting the zrok service so that you can begin sharing.
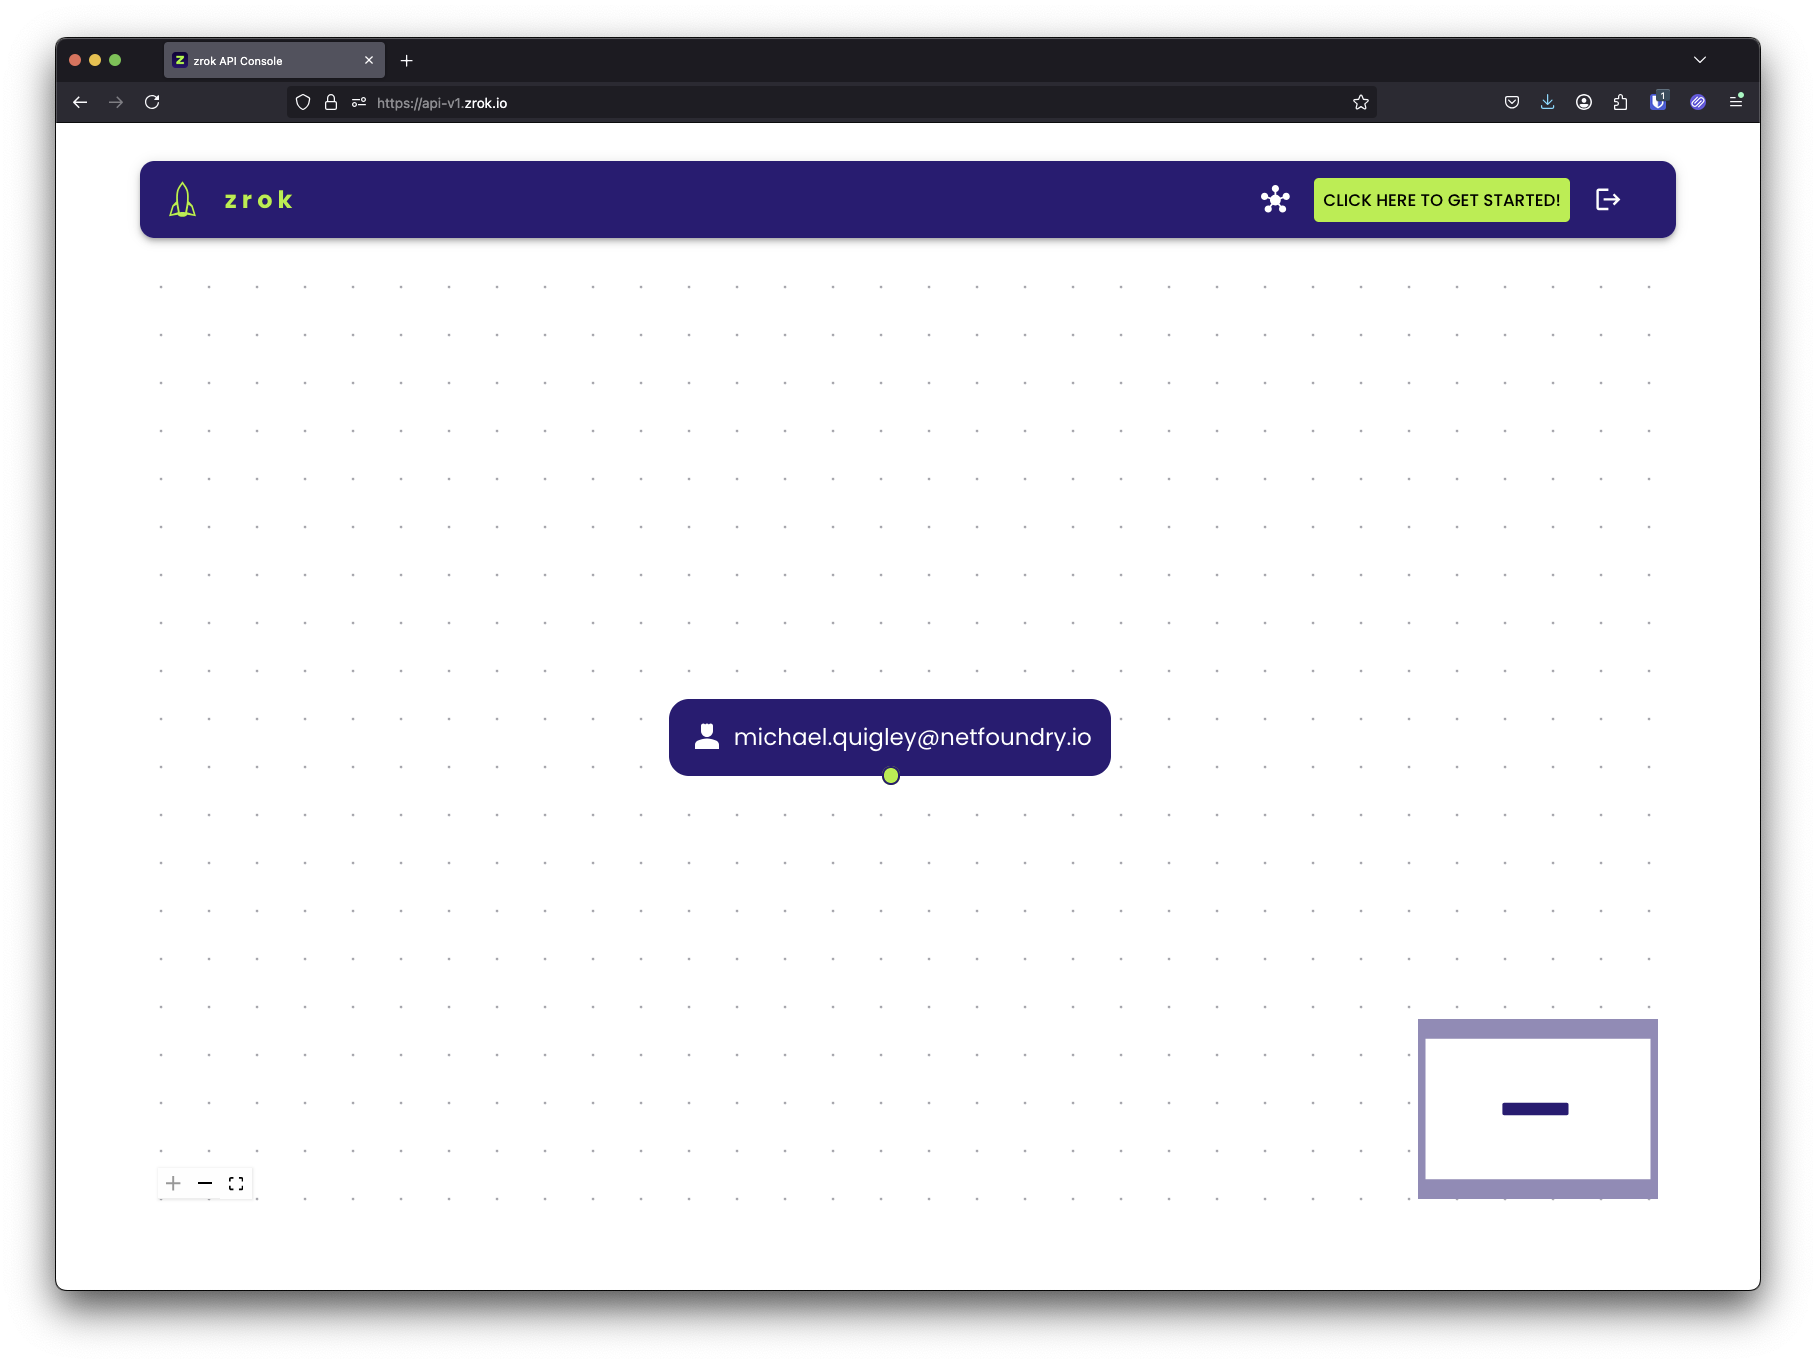
Log into the API console at:
When you first log into your account on the API console, your interface will look like this:
In the toolbar, there is a big green button that says "CLICK HERE TO GET STARTED!". If you click that button, you'll see the getting started wizard, which looks like this:
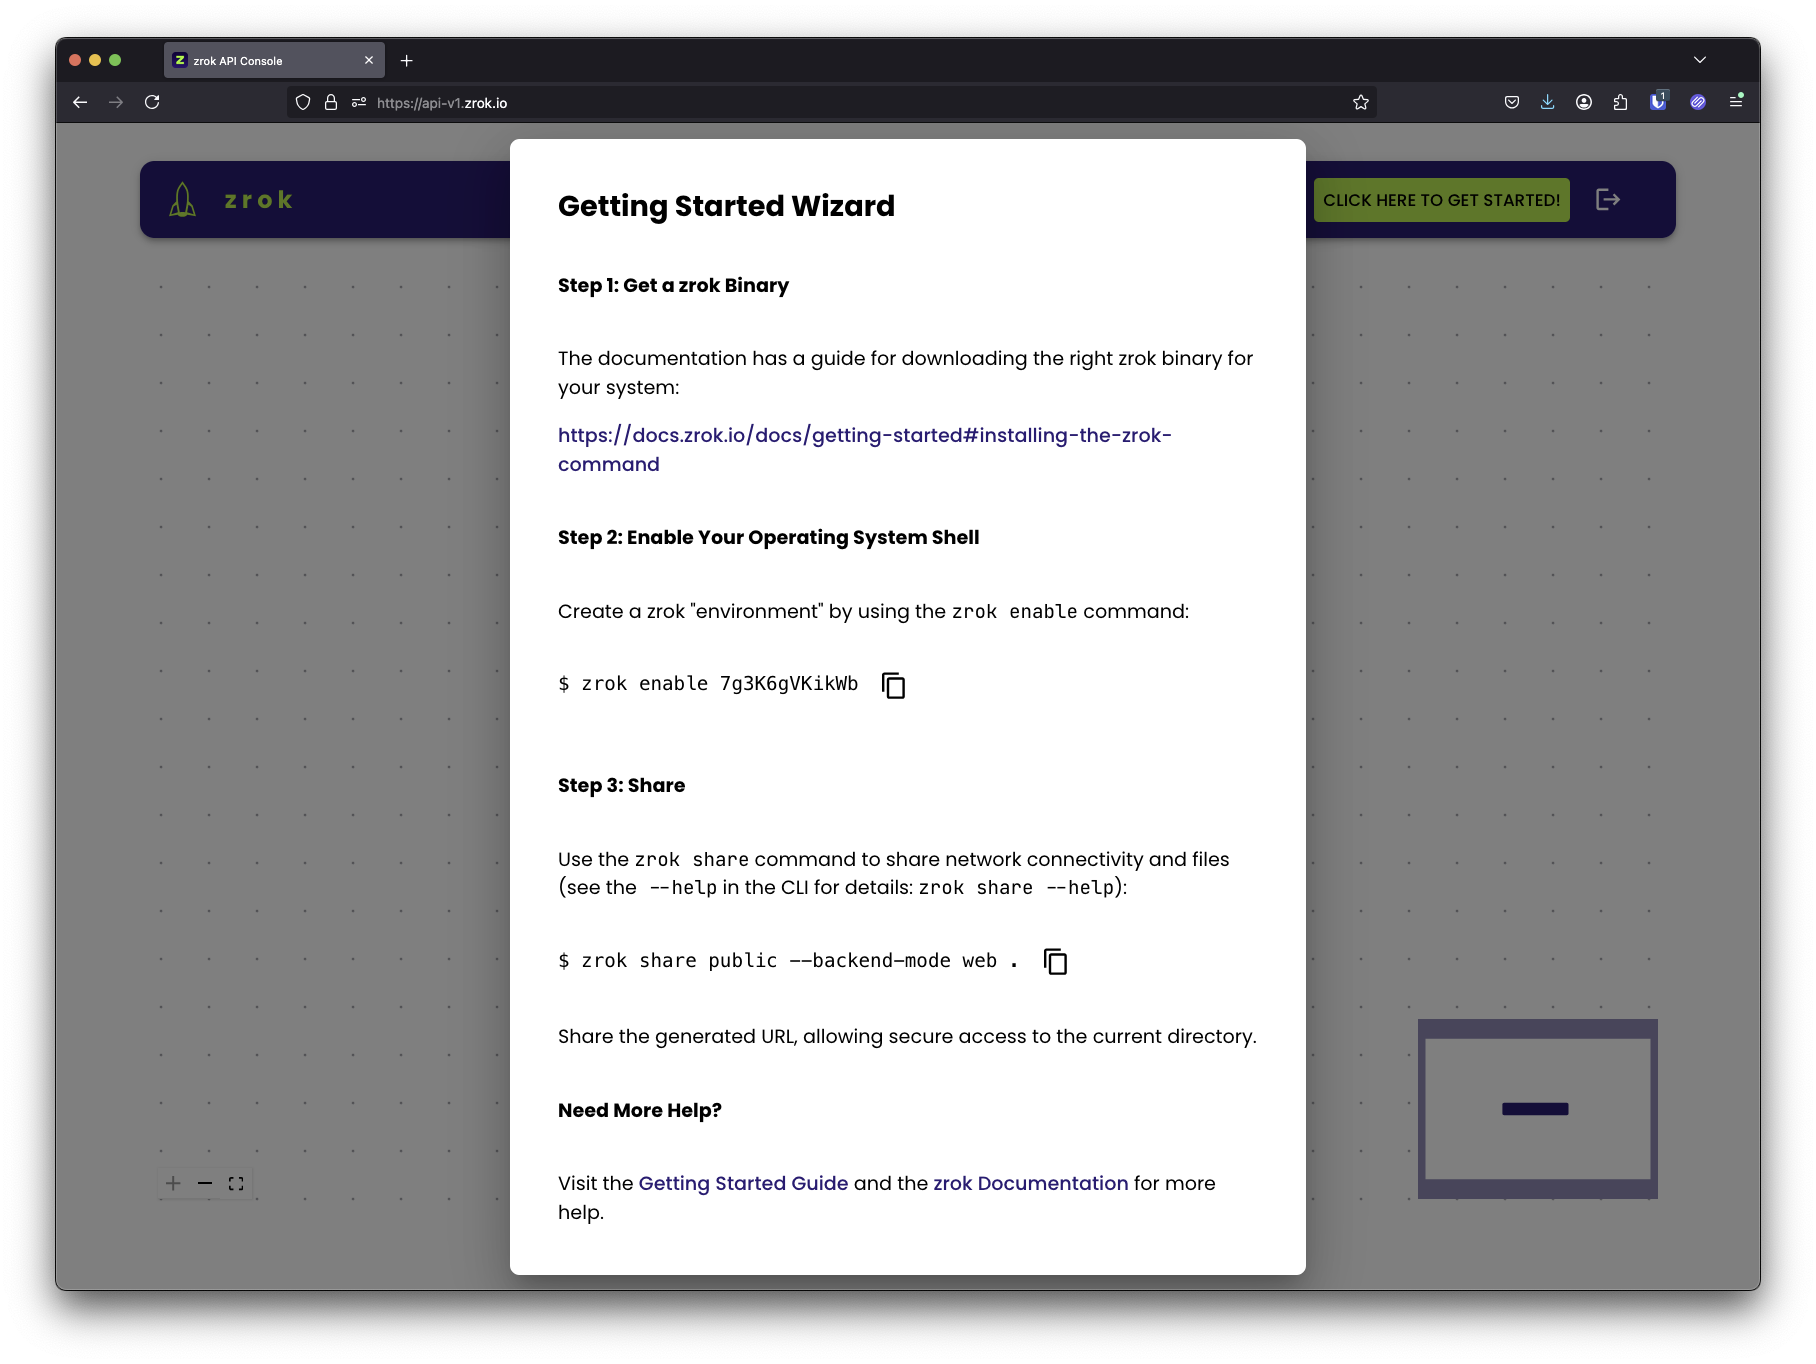
This wizard is broken into multiple steps. The first step we've already covered, which gets the zrok software installed onto your system.
Below "step 2" is a command: zrok enable 7g3K6gVKikWb (your account will have a different account token, other than 7g3K6gVKikWb). You'll want to copy this command into your shell and execute it:
$ zrok enable 7g3K6gVKikWb
⣻  contacting the zrok service...
After a few seconds, the message will change and indicate that the enable operation succeeded:
$ zrok enable 7g3K6gVKikWb
⣻  the zrok environment was successfully enabled...
Now, if we run a zrok status command, you will see the details of your environment:
$ zrok status

Config:

 CONFIG           VALUE                   SOURCE
 apiEndpoint      https://api-v1.zrok.io  env
 defaultFrontend  public                  binary
 headless         false                   binary

Environment:

 PROPERTY       VALUE
 Account Token  <<SET>>
 Ziti Identity  <<SET>>
Excellent... our environment is now fully enabled.
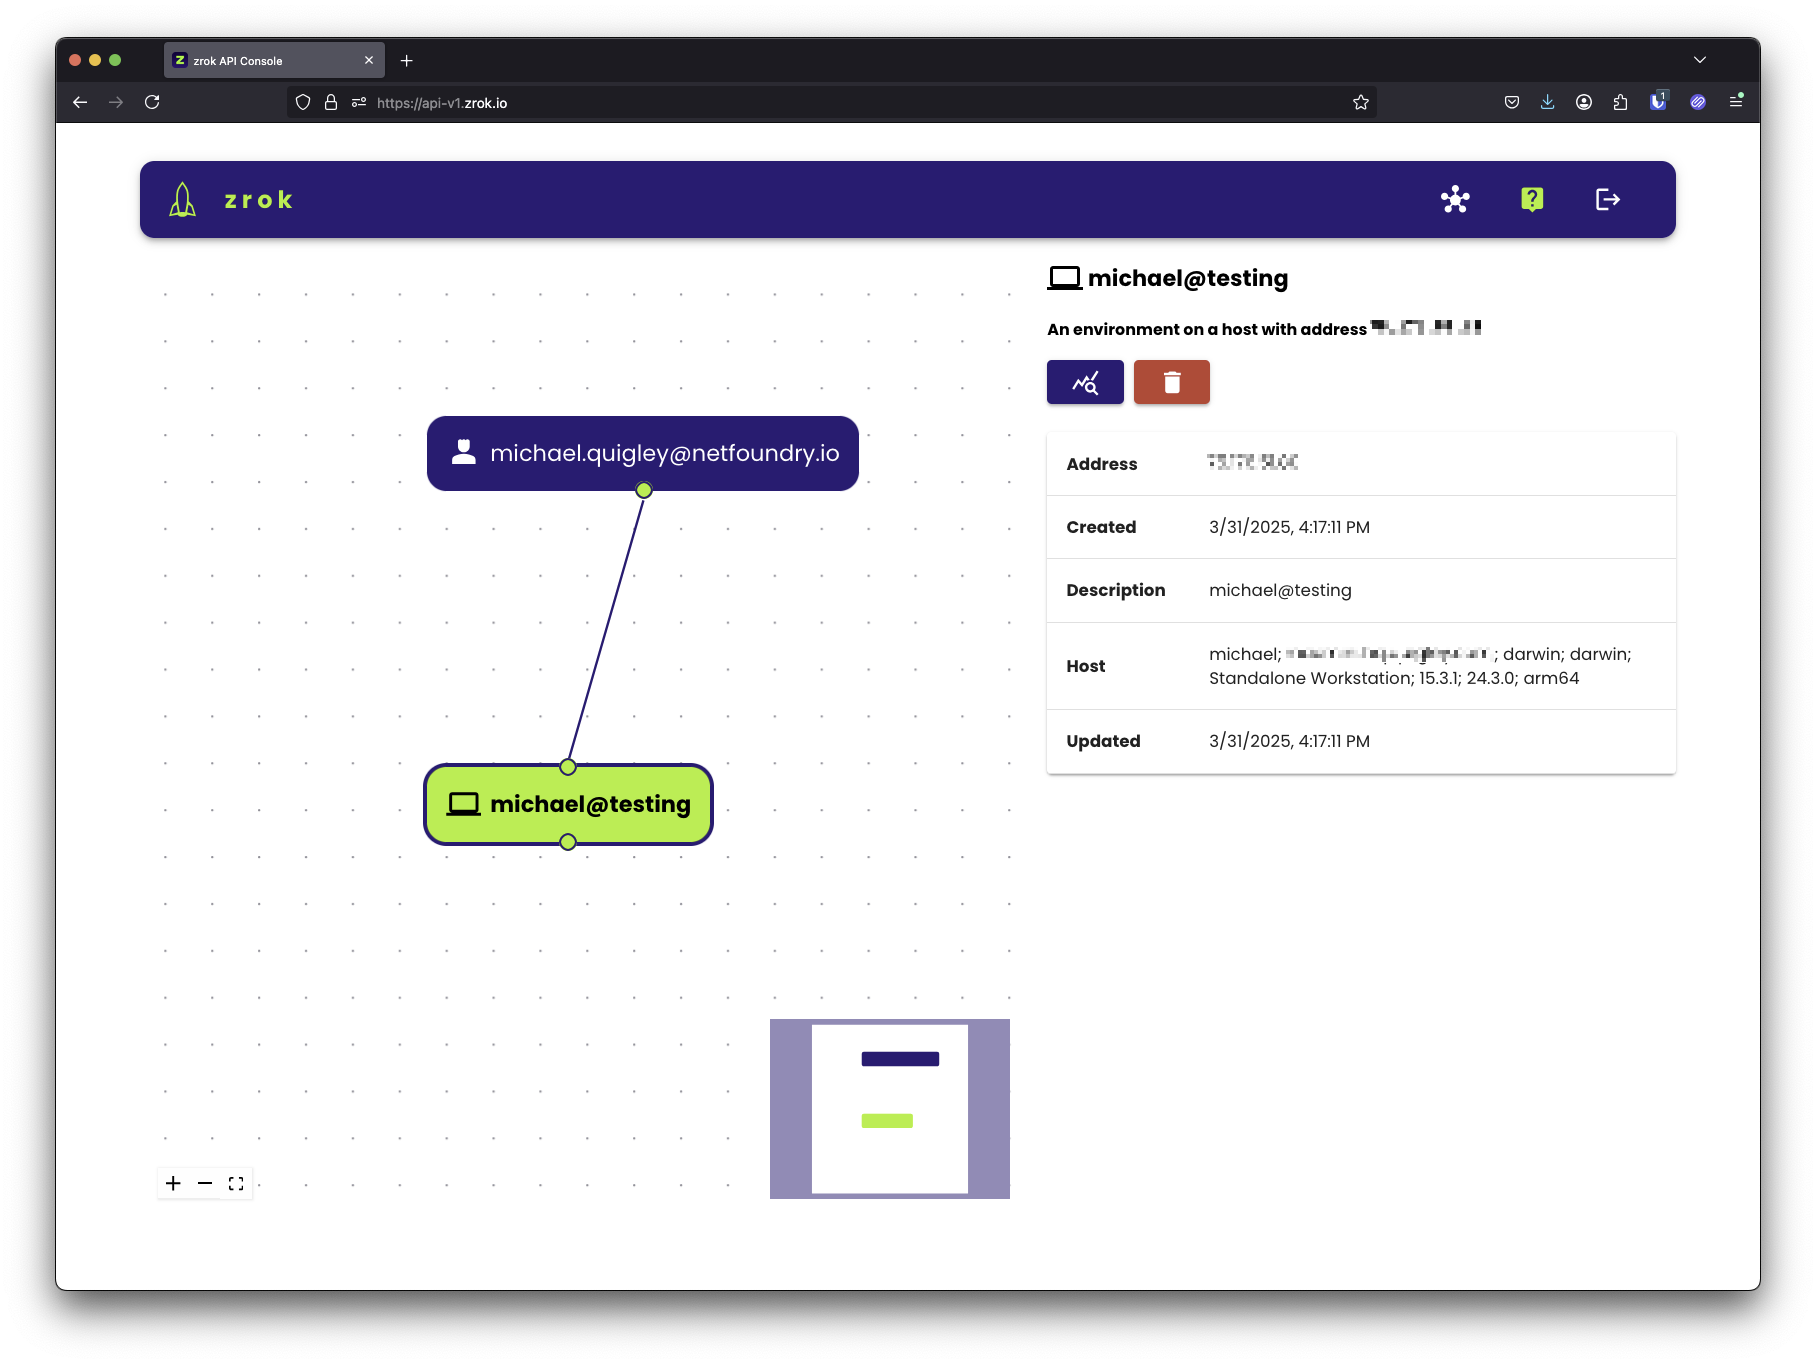
If we return to the API console, we'll now see the new environment reflected in the API console visualizer:
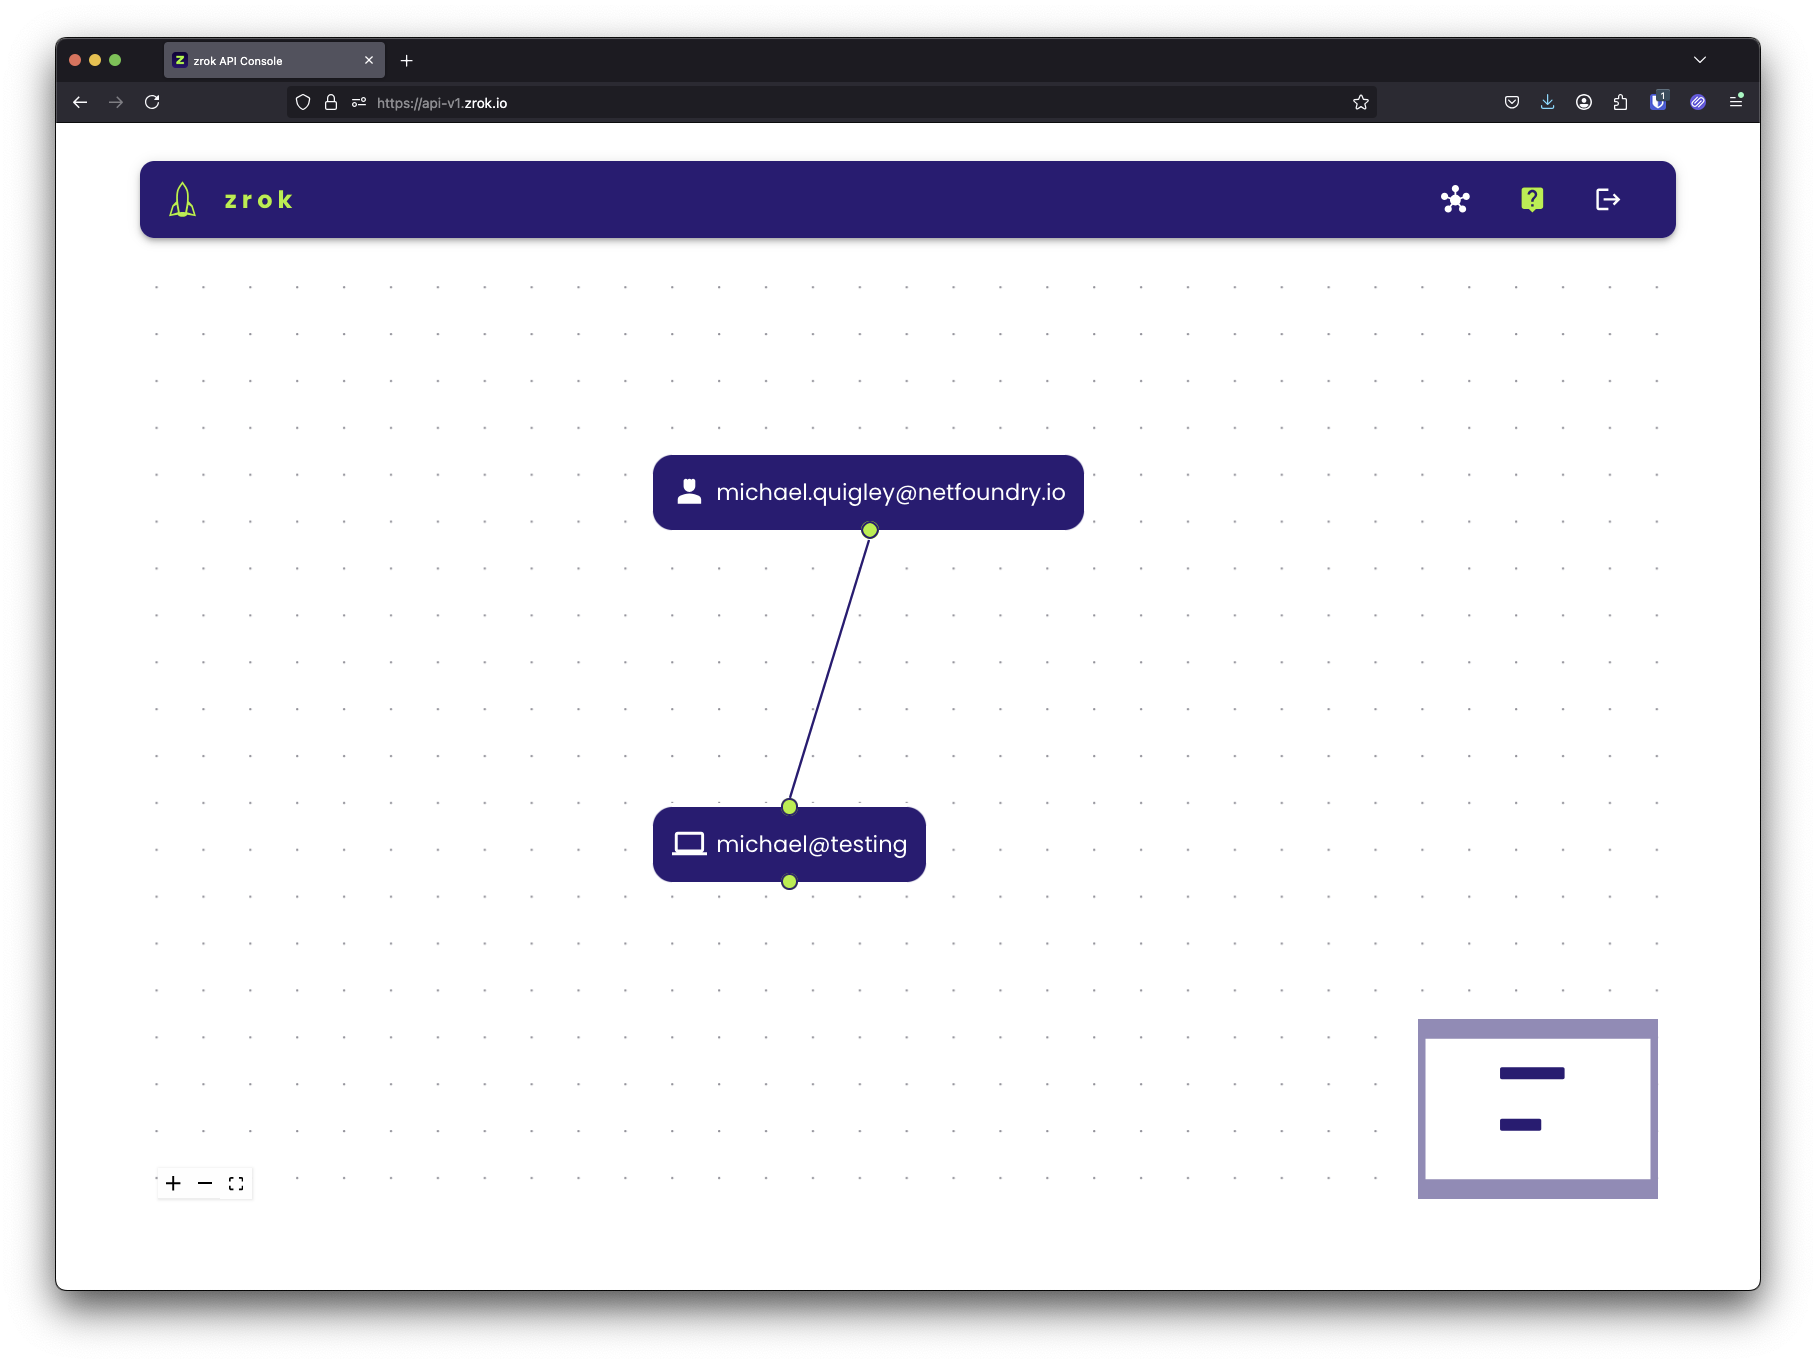
In my case, the environment is named michael@testing, which is the username of my shell and the hostname of the system the shell is running on.
Should you want to use a non-default name for your environment, you can pass the -d option to the zrok enable command. See zrok enable --help for details.
If you click on the environment node in the explorer in the web console, the details panel shown at the bottom of the page will change:
The visualizer supports clicking, dragging, mouse wheel zooming, and selecting the nodes in the graph for more information (and available actions) for the selected node. If you ever get lost in the visualizer, click the ![]() zoom to fit icon in the lower right corner of the explorer.
zoom to fit icon in the lower right corner of the explorer.
With your zrok account you can zrok enable multiple environments. This will allow you to share (and access your shares) from multiple environments simultaneously.
Your environment is fully ready to go. Now we can move on to the fun stuff...
Sharing
zrok is designed to make sharing resources as effortless as possible, while providing a high degree of security and control.
Ephemeral by Default
Shared resources are ephemeral by default; as soon as you terminate the zrok share command, the entire share is removed and is no longer available to any users. Identifiers for shared resources are randomly allocated when the share is created.
Public Shares and Frontends
Resources that are shared publicly are exposed to any users on the internet who have access to the zrok instance's "frontend".
A frontend is an HTTPS listener exposed to the internet, that lets any user with your ephemeral share token access your publicly shared resources.
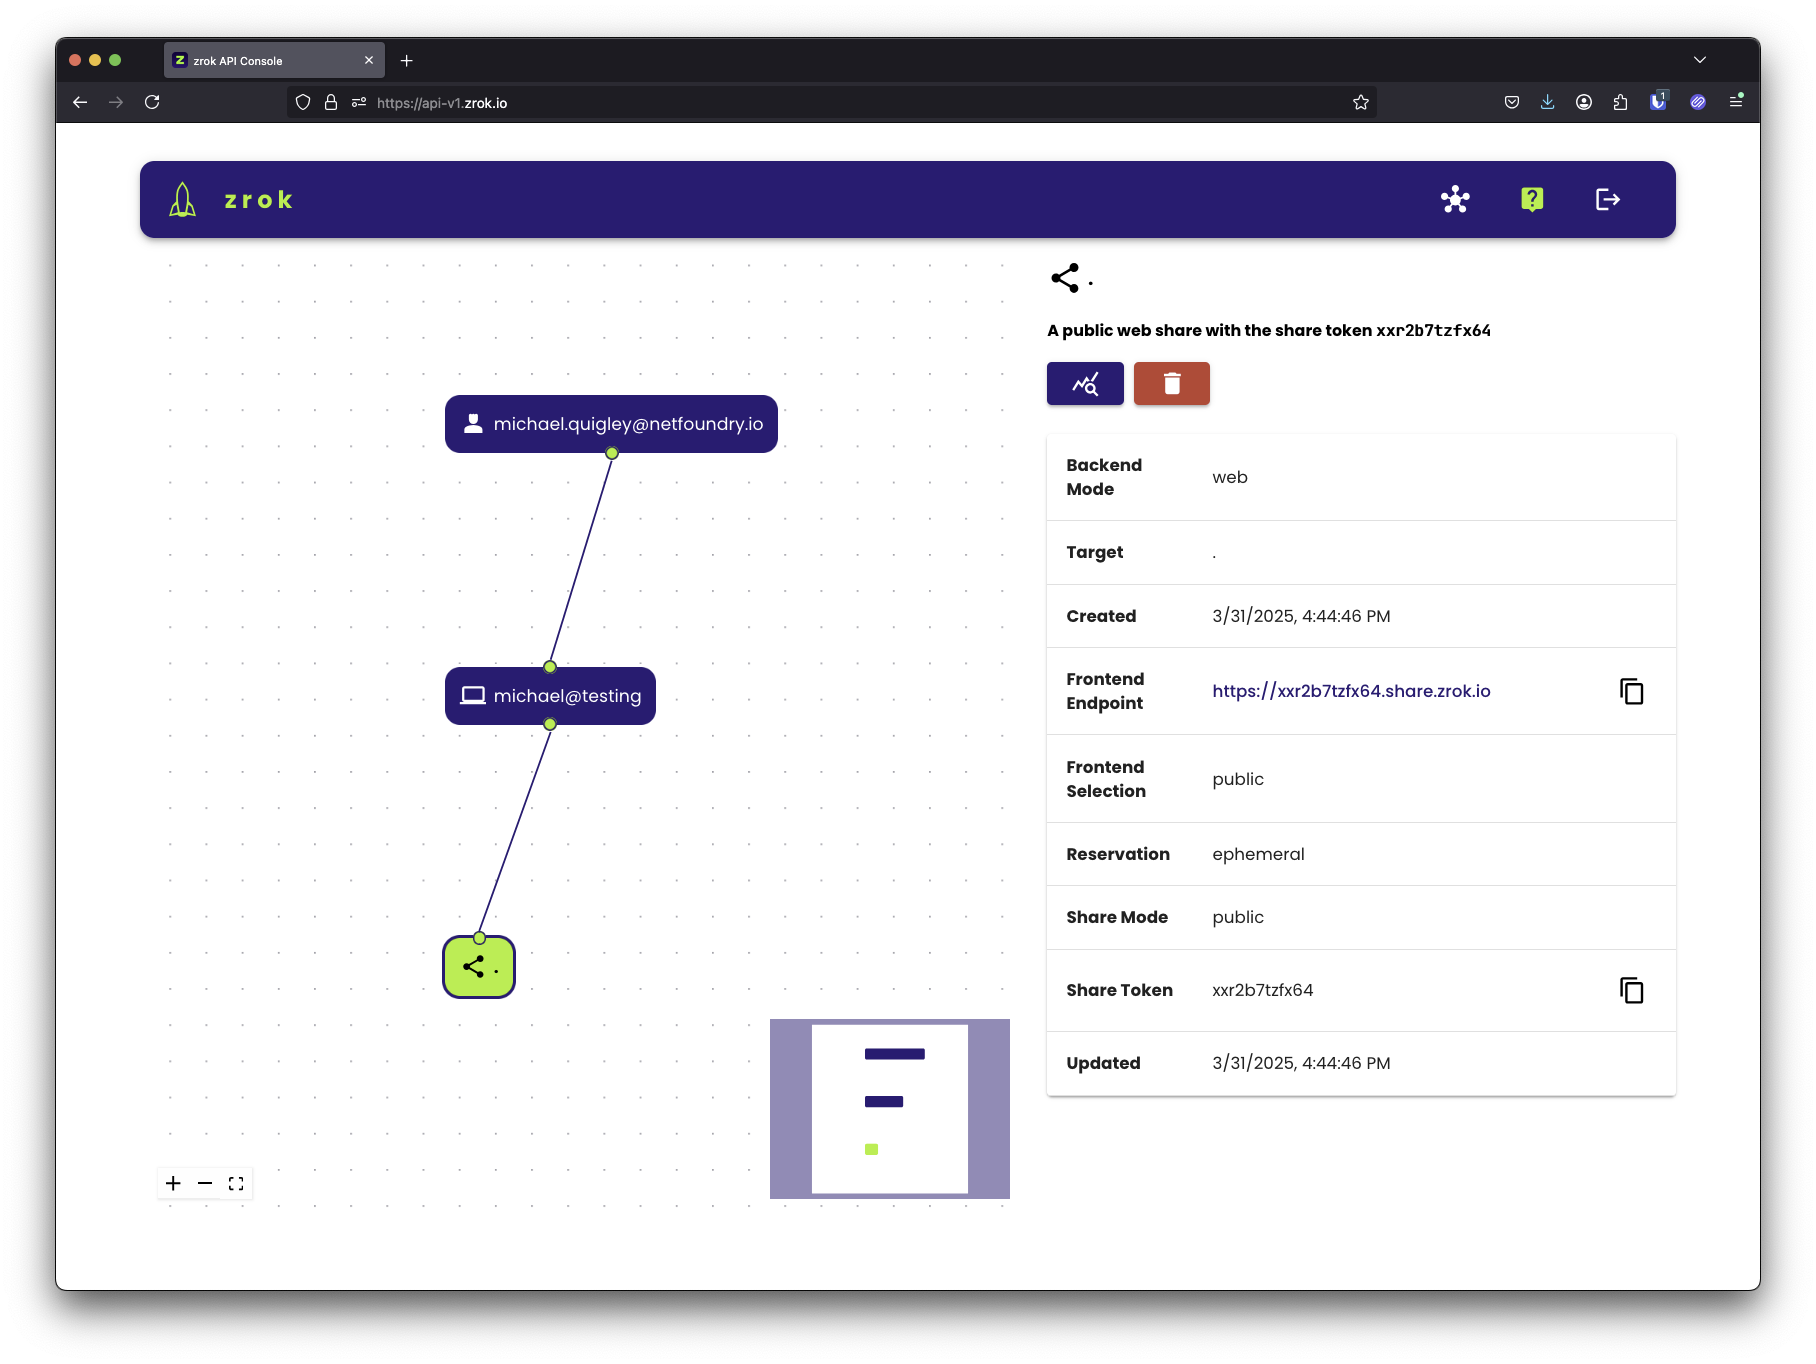
For example, I might create a public share using the zrok share public command, which results in my zrok instance exposing a URL like https://xxr2b7tzfx64.share.zrok.io to access my resources.
$ zrok share public --backend-mode web .
In this case, my share was given the "share token" of xxr2b7tzfx64. That URL can be given to any user, allowing them to immediately access the shared resources directly from my local environment, all without exposing any access to my private, secure environment. The physical network location of my environment is not exposed to anonymous consumers of my resources.
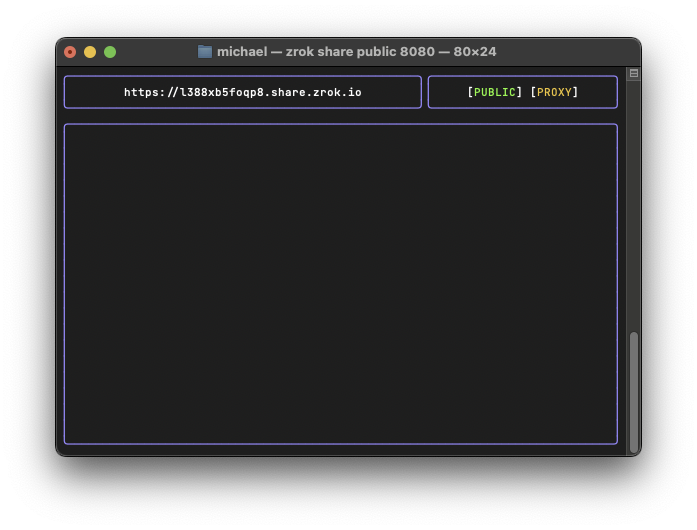
If we return to the web console, we see our share in the explorer:
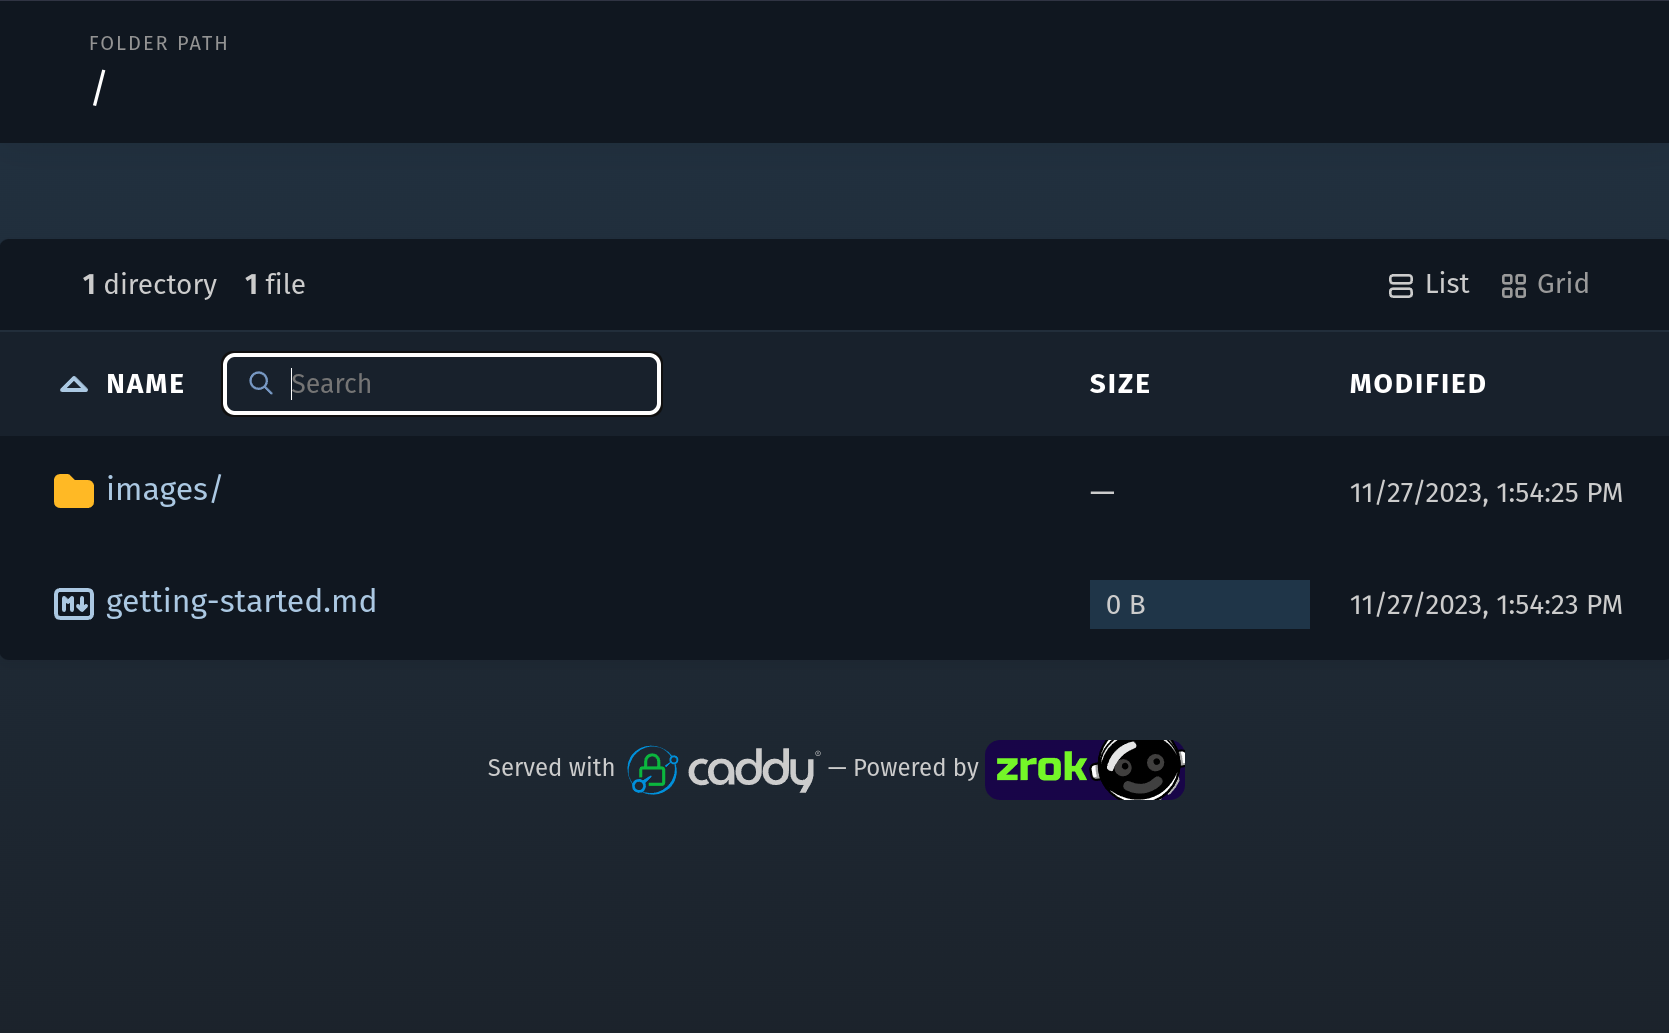
If we click on the frontend endpoint a new browser tab opens and we see the content of our share:
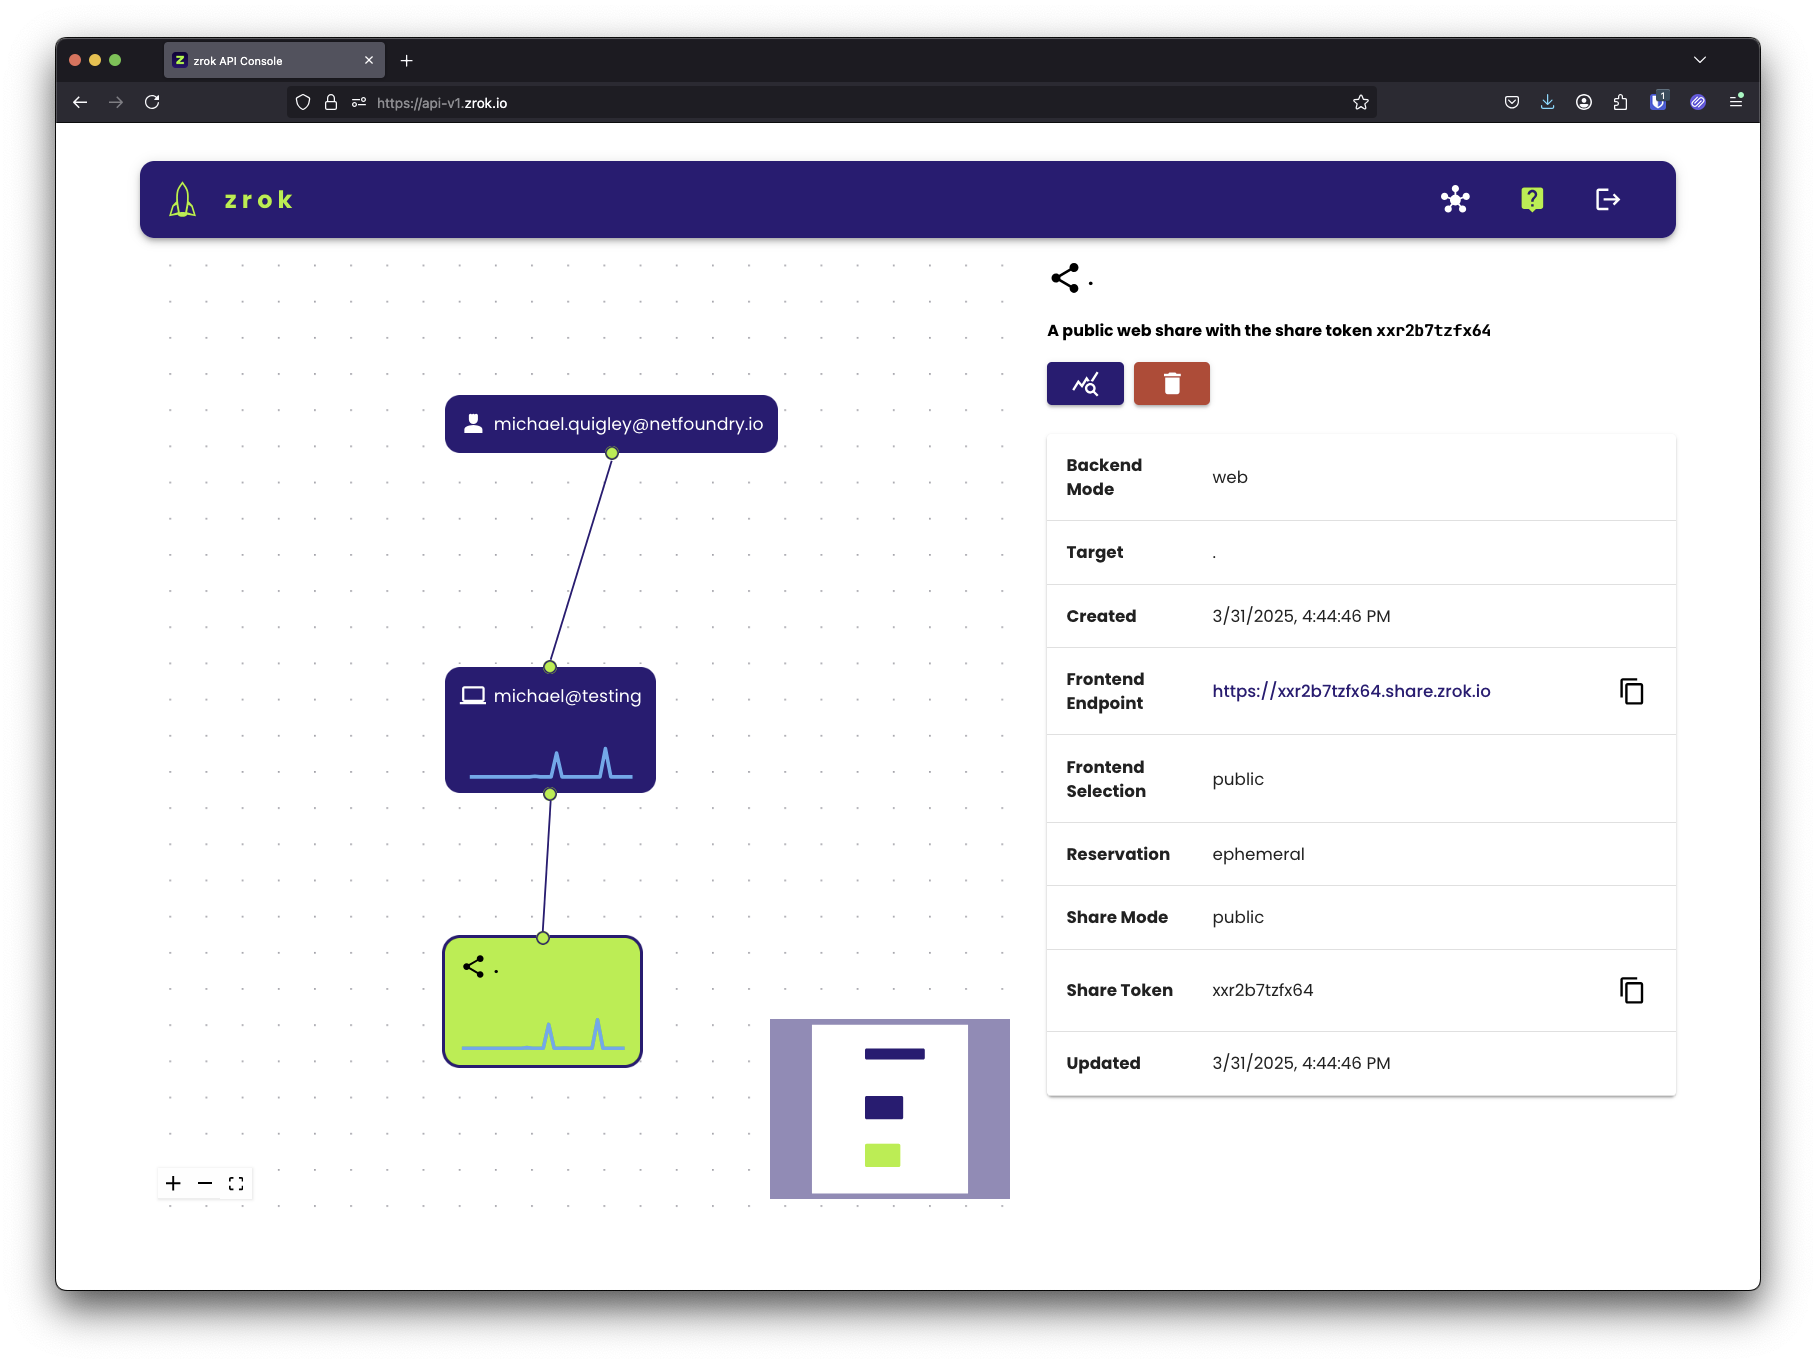
When we start accessing our share, notice the sparkline graphs showing the activity:
And as soon as I terminate the zrok share client, the resources are removed from the zrok environment.
If we try to reload the frontend endpoint in our web browser, we'll see:
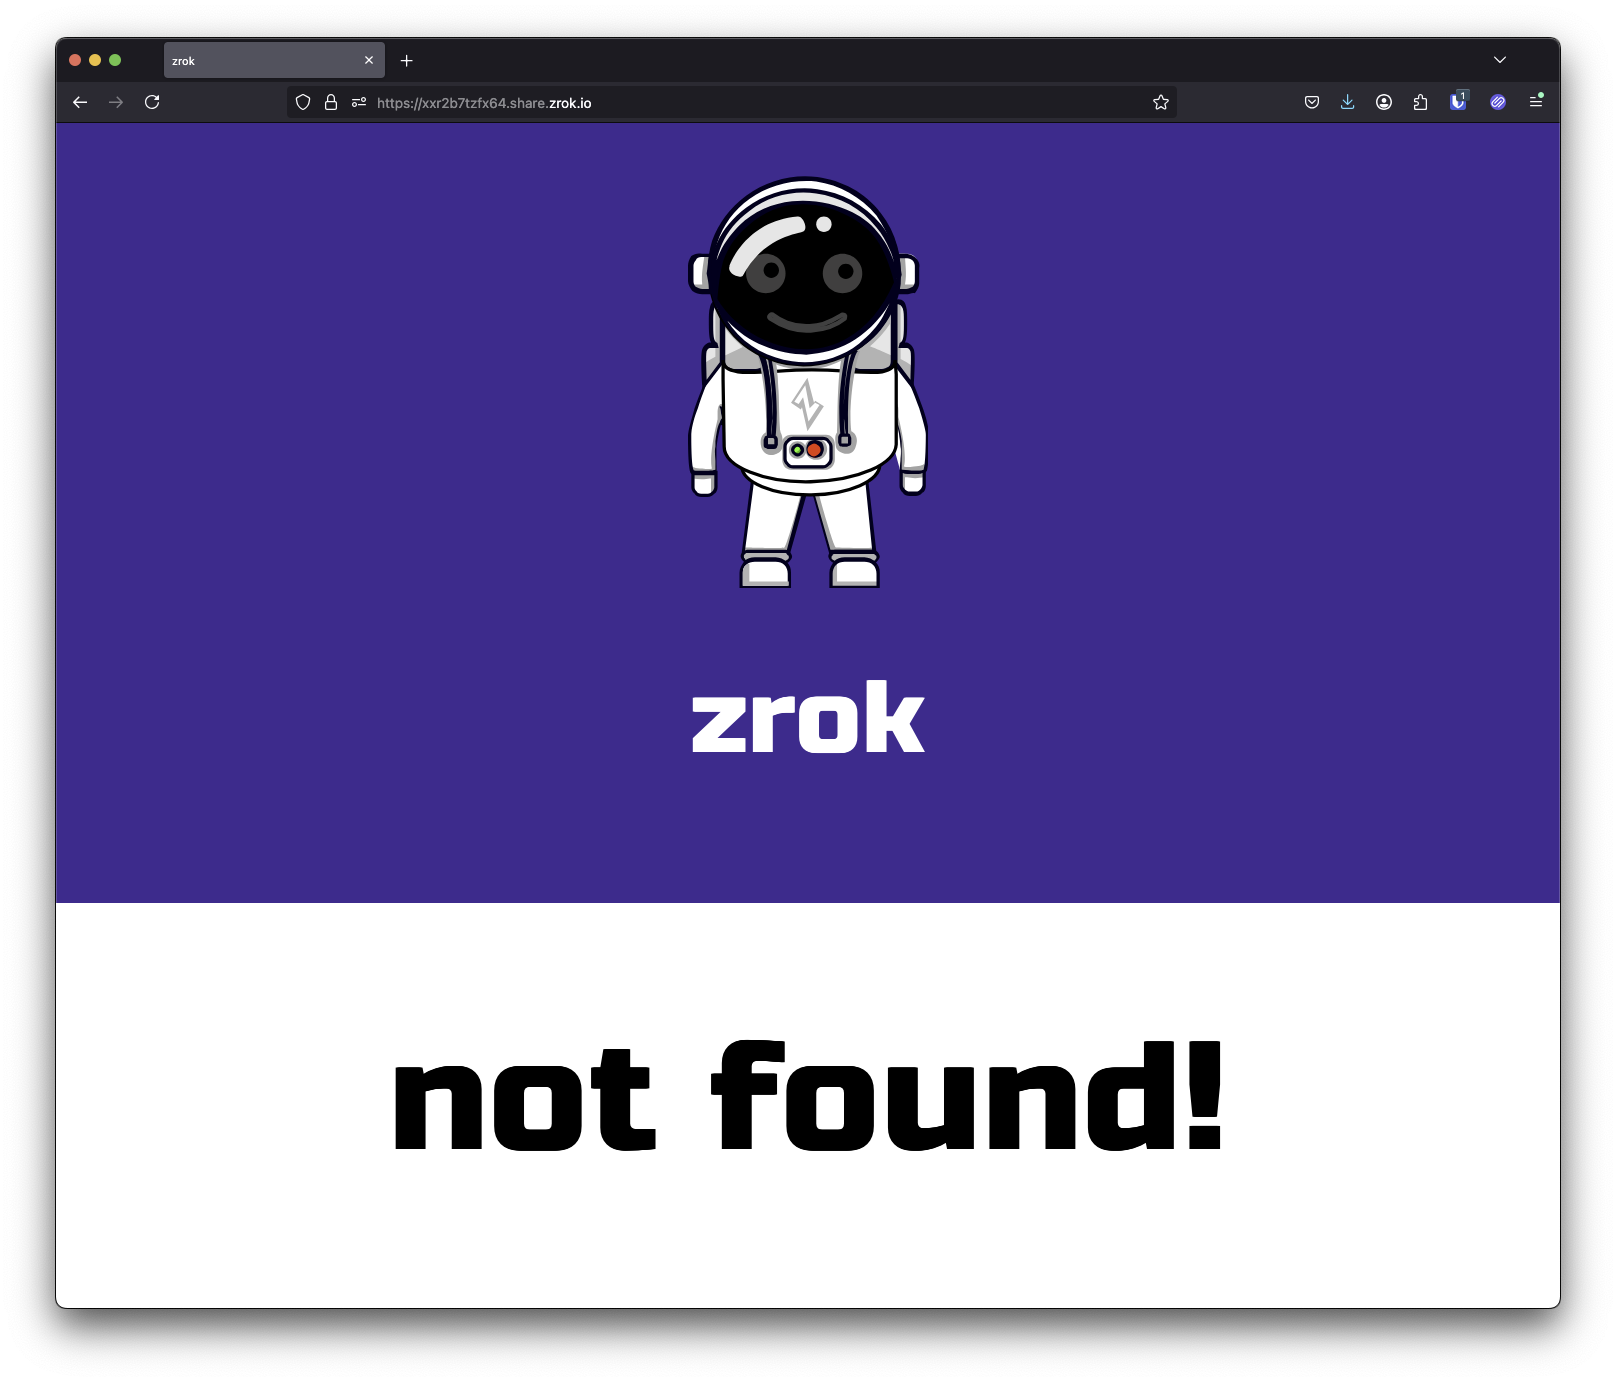
Private Shares
zrok also provides a powerful private sharing model. If I execute the following command:
The zrok service will respond with the following:
Rather than allowing access to your service through a public frontend, a private share is only exposed to the underlying OpenZiti network, and can only be accessed using the zrok access command.
The zrok access private wvszln4dyz9q command can be run by any zrok user, allowing them to create and bind a local HTTP listener, that allows for private access to your shared resources.
Proxy Backend Mode
Without specifying a backend mode, the zrok share command will assume that you're trying to share a proxy resource. A proxy resource is usually some private HTTP/HTTPS endpoint (like a development server, or a private application) running in your local environment. Usually such an endpoint would have no inbound connectivity except for however it is reachable from your local environment. It might be running on localhost, or only listening on a private LAN segment behind a firewall.
For these services a proxy share will allow those endpoints to be reached, either publicly or privately through the zrok service.
Web Backend Mode
The zrok share command accepts a --backend-mode option. Besides proxy, the current v0.3 release (as of this writing) also supports a web mode. The web mode allows you to specify a local folder on your filesystem, and instantly turns your zrok client into a web server, exposing your web content either publicly or privately without having to a configure a web server.
Reserved Shares
zrok shares are ephemeral unless you specifically create a "reserved" share.
A reserved share can be re-used multiple times; it will survive termination of the zrok share command, allowing for longer-lasting semi-permanent access to shared resources.
The first step is to create the reserved share:
$ zrok reserve public --backend-mode web v0.3_getting_started
[   0.275]    INFO main.(*reserveCommand).run: your reserved share token is 'mltwsinym1s2'
[   0.275]    INFO main.(*reserveCommand).run: reserved frontend endpoint: https://mltwsinym1s2.share.zrok.io
I'm asking the zrok service to reserve a share with a web backend mode, pointing at my local docs folder.
You'll want to remember the share token (mltwsinym1s2 in this case), and the frontend endpoint URL. If this were a private reserved share, there would not be a frontend URL.
If we do nothing else, and then point a web browser at the frontend endpoint, we get:
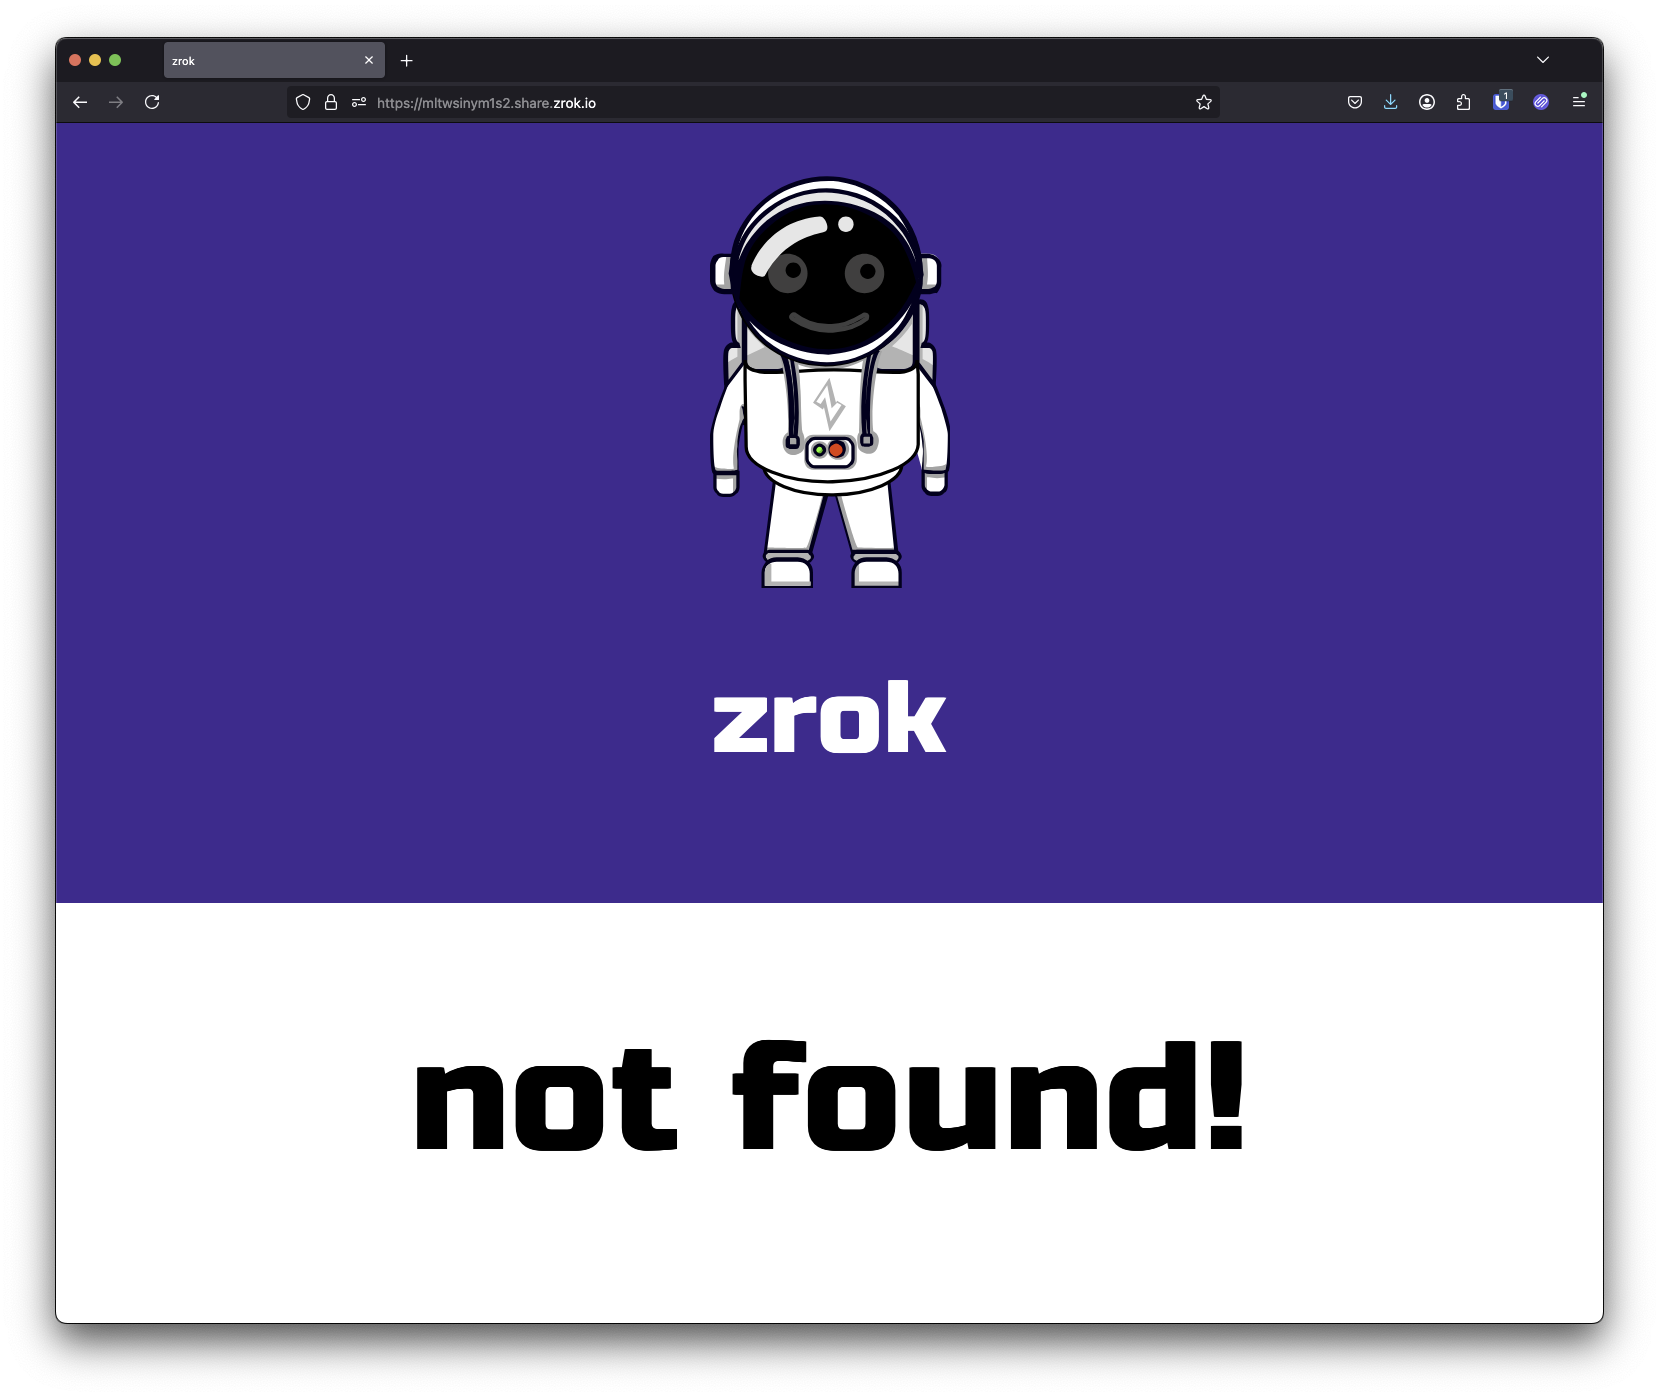
This is the 404 error message returned by the zrok frontend. We're getting this because we haven't yet started up a zrok share for the service. Let's do that:
This command:
$ zrok share reserved mltwsinym1s2
...results in a new share backend starting up and connecting to the existing reserved share:
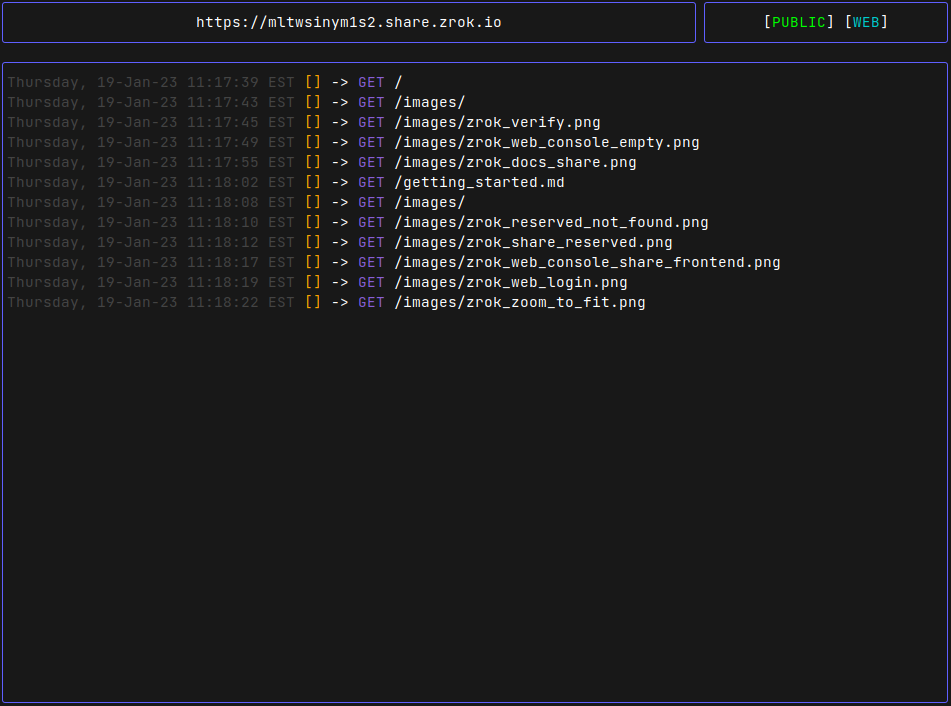
And now if we refresh the frontend endpoint URL in the web browser, we'll see an index of the docs directory:
With the reserved share, we're free to stop and restart the zrok share reserved command as many times as we want, without losing the token for our share.
When we're done with the reserved share, we can release it using this command:
$ zrok release mltwsinym1s2
[   0.230]    INFO main.(*releaseCommand).run: reserved share 'mltwsinym1s2' released
Concepts Review
In summary, zrok lets you easily and securely share resources with both general internet users (through public sharing) and also with other zrok users (through private sharing).
Here's a quick review of the zrok mental model and the vocabulary.
Instance and Account
You create an account with a zrok instance. Your account is identified by a username and a password, which you use to log into the web console. Your account also has a secret token, which you will use to authenticate from the zrok command-line to interact with the instance.
You create a new account with NetFoundry's zrok instance by subscribing in myzrok.io or in a self-hosted zrok instance by running the zrok invite command or the zrok admin create account command.
Environment
Using your secret token you use the zrok command-line interface to create an environment. An environment corresponds to a single command-line user on a specific host system.
You create a new environment by using the zrok enable command.
Shares
Once you've enabled an environment, you then create one or more shares. Shares have either a public or private sharing mode. Shares share a specific type of resource using a backend mode. As of this writing zrok supports a proxy backend mode to share local HTTP resources as a reverse proxy. zrok also supports a web backend mode to share local file and HTML resources by enabling a basic HTTP server.
Every share is identified by a share token. Public shares can be accessed through either a frontend instance offered through the zrok instance, or through the zrok access command. Private shares can only be accessed through the zrok access command.
You use the zrok share command to create and enable ephemeral shares.
Reserved Shares
zrok supports creating shares that have a consistent share token that survives restarts of the zrok share command. These are considered non-ephemeral, and is callled a reserved share.
You use the zrok reserve command to create reserved shares. Reserved shares last until you use the zrok release command to delete them.
Self-Hosting an Instance
Interested in self-hosting your own zrok instance? See the self-hosting guides!
Resources
- Learn about OpenZiti