Configuring a Windows Service
In Windows environments, it can be useful to run the zrok Agent as a service, allowing it to automatically restart with your system.
Support for running the zrok Agent as a Windows service is handled through a third party utility, nssm, which is available here:
Give the nssm documentation a quick review, here:
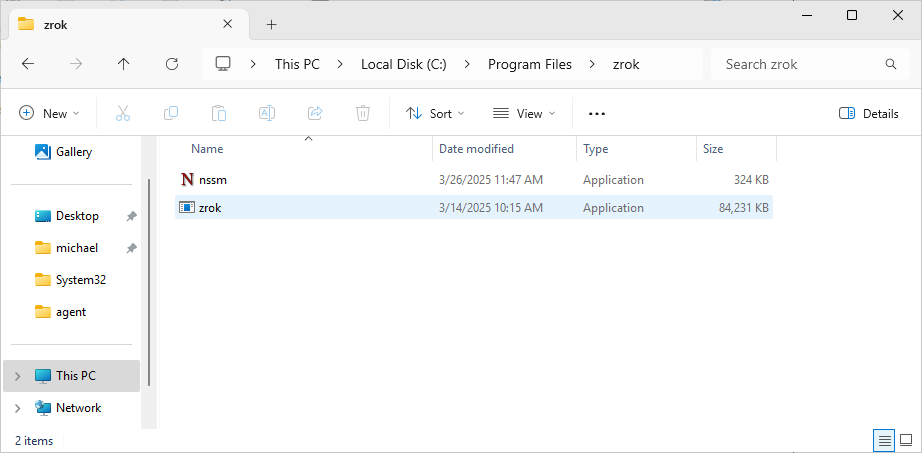
You'll want to install both the zrok.exe and nssm.exe in a convenient, protected location. In this example, we'll put them in C:\Program Files\zrok, as C:\Program Files\zrok\zrok.exe and C:\Program Files\zrok\nssm.exe.
We're going to use a command prompt to install and configure our Agent service. Open a new command prompt and cd "\Program Files\zrok":

Enabling the Service Environment
On Windows, the USERPROFILE environment variable controls the "home" where zrok will look for the enabled environment. When running as a service on Windows, the process will be running as the Local System user, which uses the directory C:\Windows\System32\config\systemprofile directory as the user's "home" directory.
We're going to want to enable a zrok environment for our new Agent service in this directory. First, we'll run:
C:\Program Files\zrok>set USERPROFILE=c:\Windows\System32\config\systemprofile
And with that environment variable set, we'll use the zrok enable command to enable an environment for our new Agent service:
C:\Program Files\zrok>zrok enable <accountToken>
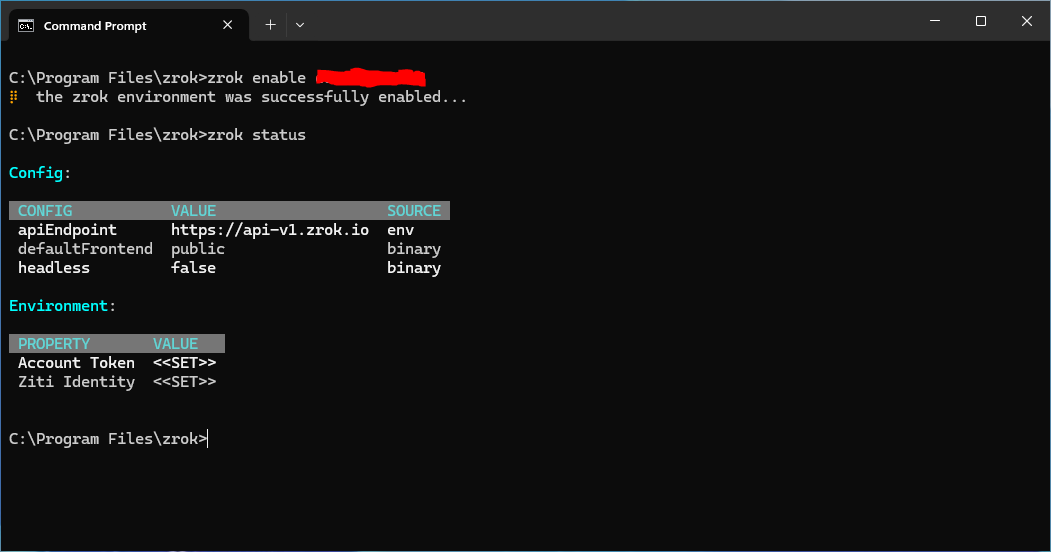
Now we've got a new, enabled environment to use with our Agent running as a Windows service.
Installing the Service
In the C:\Program Files\zrok directory, execute this command to invoke nssm to create the new Windows service for our zrok Agent:
C:\Program Files\zrok>nssm install zrokAgent
Windows might ask you for elevated Administrator privileges and will then show the main nssm installation dialog, which we'll use to configure the new Windows service:

We'll set "Path" to C:\Program Files\zrok\zrok.exe (the zrok executable). We'll set the "Startup directory" to C:\Windows\System32\config\systemprofile (the "home" directory for the Local System user). The "Arguments" are the command-line parameters that will get added to the command-line when starting the service, in this case, we want the service to start with the command zrok agent start.
We'll set the "Service name" to zrokAgent.
Next, scroll over to the "I/O" tab in the nssm installer:

Set the "Output (stdout)" to log the standard output from the zrok agent start process to the file C:\Windows\System32\config\systemprofile\.zrok\agent-stdout.log.
Set the "Error (stderr)" to log the standard error to the file C:\Windows\System32\config\systemprofile\.zrok\agent-stderr.log.
Setting the I/O redirection in this way will produce logs from the zrok agent start process that could be useful for future troubleshooting.
nssm also provides options for automatically rotating these log files:

We'll leave these unset in this example, but if your configuration needs this kind of log file rotation nssm makes it available.
Finally, click the Install service button to create the service.
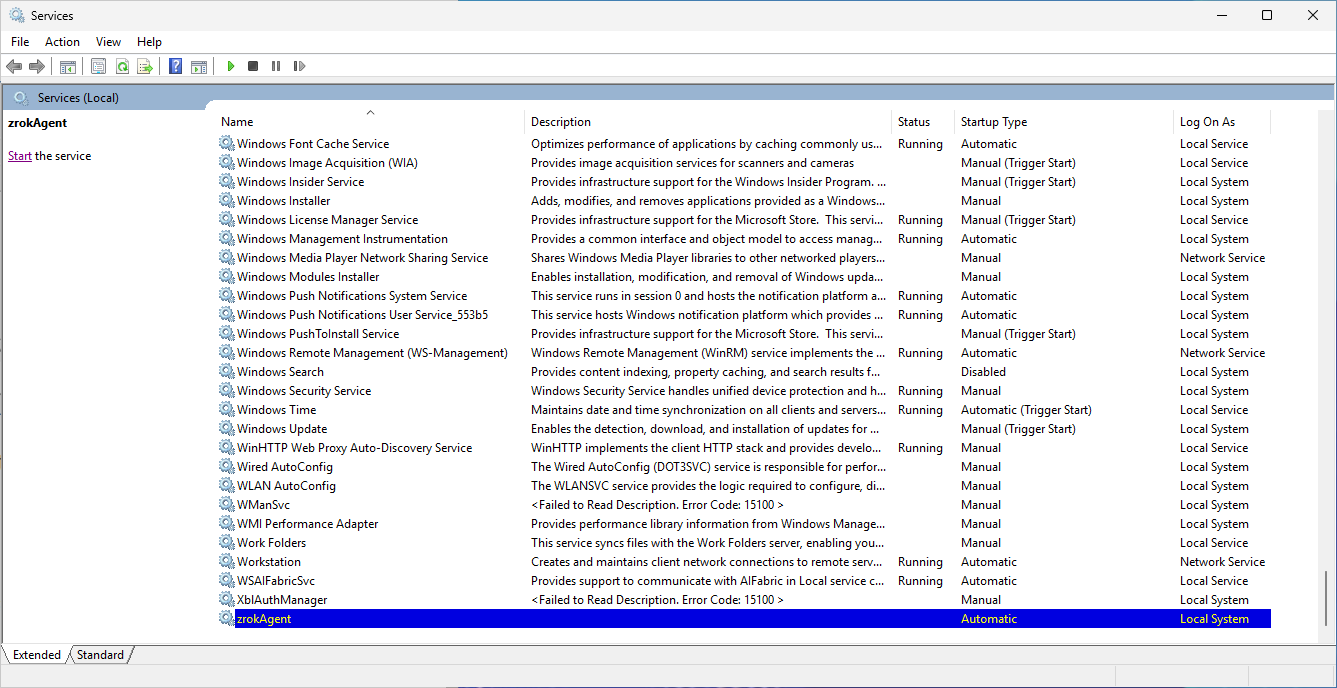
If we open the "Services" utility in Windows, we can see our new zrokAgent service:
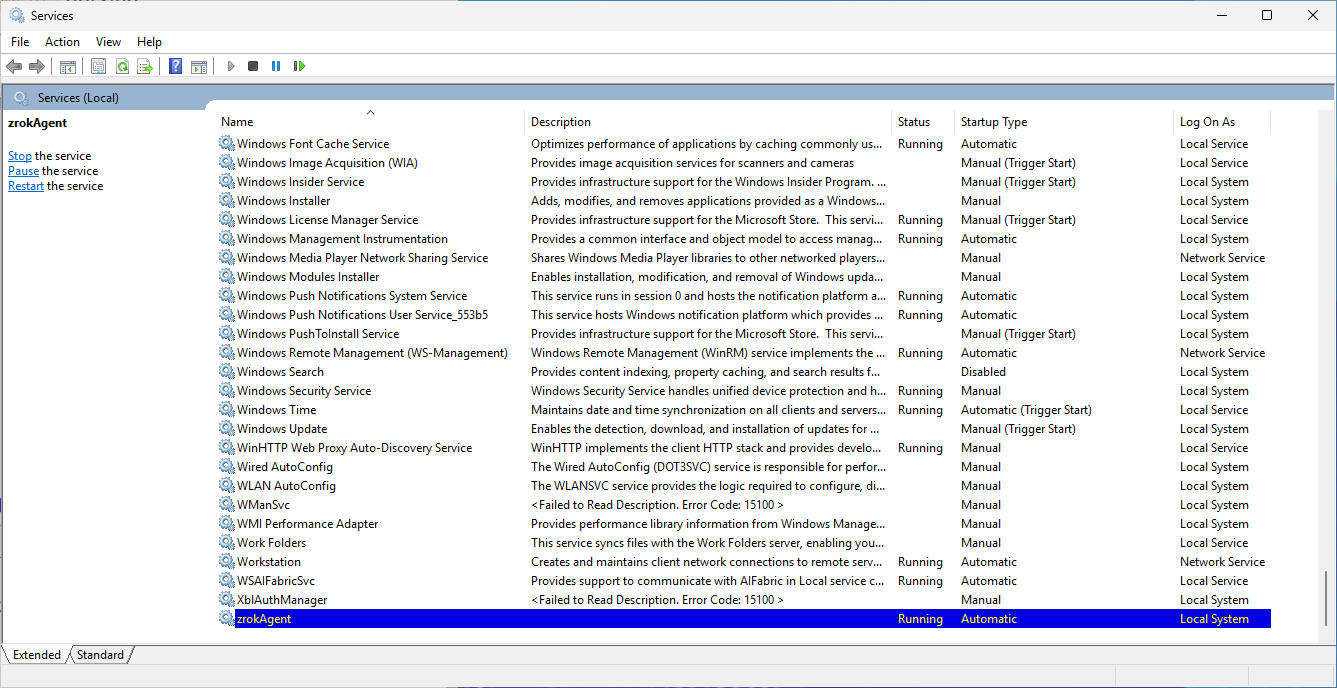
If we click the start button in the toolbar, or right-click on the service and select "start", our new zrok Agent service will start:
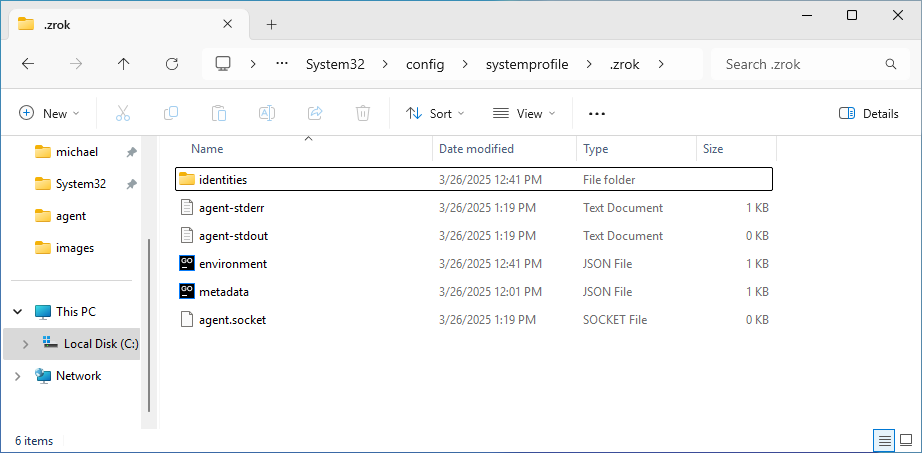
If we open a Windows Explorer in the folder C:\Windows\System32\config\systemprofile\.zrok we can see our logs, and the agent.socket which is used by the zrok command-line to interact with our Agent service:
This zrok Agent service is now available for use. Whenever a Windows Command Prompt wants to interact with this environment, it is important that the USERPROFILE environment variable is properly set to C:\Windows\System32\config\systemprofile, otherwise the zrok commands will attempt to interact with the environment that would be created in the user's default profile directory.
We can access the Agent console using this command:
C:\Program Files\zrok>zrok agent console
And this will open a web interface which allows the Agent to be managed:
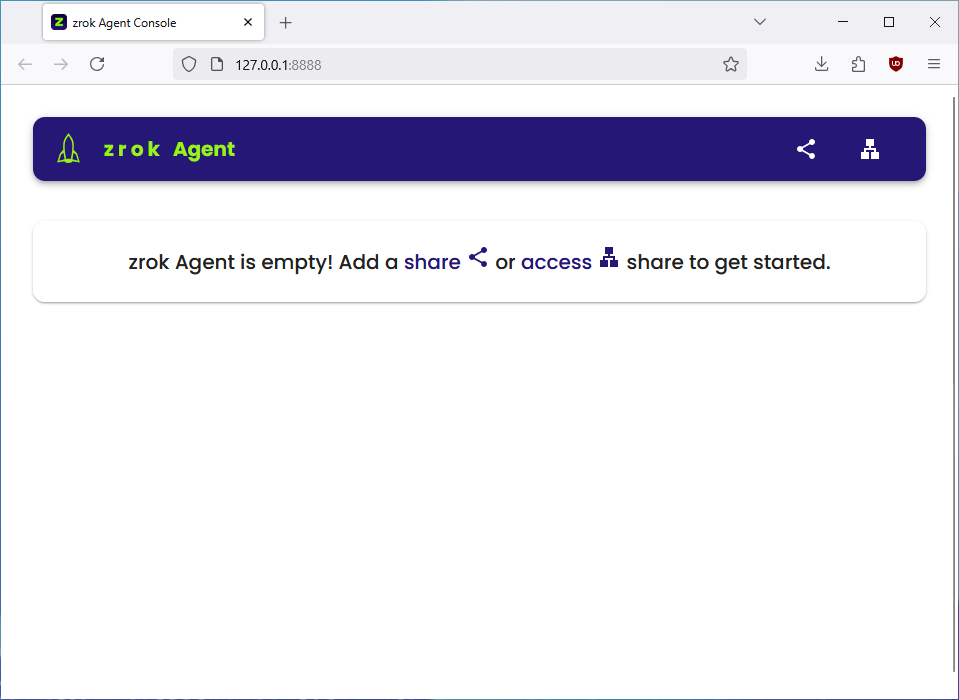
The Agent console can be used to directly create shares and accesses, and the zrok command-line can also be used.
Non-interactive Service Installation
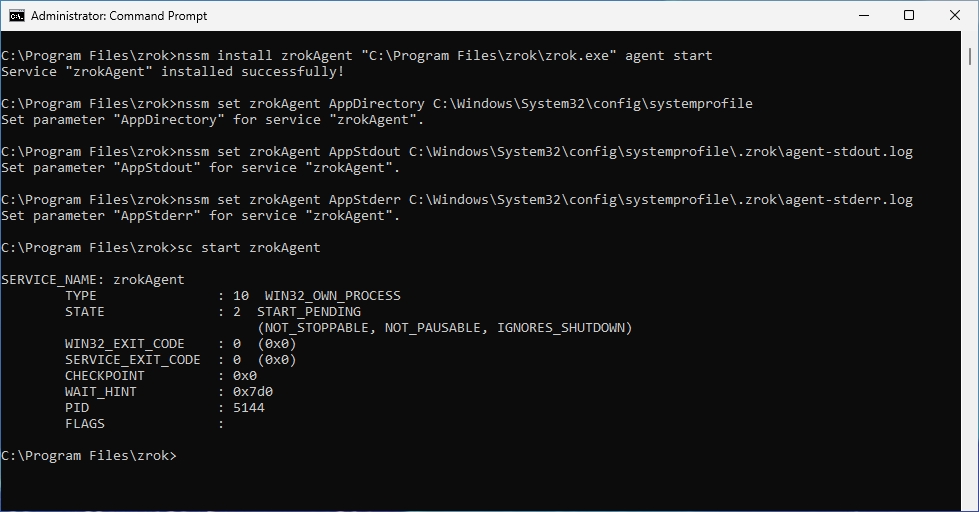
nssm provides a command-line that can do this configuration without interacting with the nssm GUI. We would create our service like this:
C:\Program Files\zrok>nssm install zrokAgent "C:\Program Files\zrok\zrok.exe" agent start
C:\Program Files\zrok>nssm set zrokAgent AppDirectory C:\Windows\System32\config\systemprofile
C:\Program Files\zrok>nssm set zrokAgent AppStdout C:\Windows\System32\config\systemprofile\.zrok\agent-stdout.log
C:\Program Files\zrok>nssm set zrokAgent AppStderr C:\Windows\System32\config\systemprofile\.zrok\agent-stderr.log
And we can start our new service using the standard Windows service control utility, sc:
C:\Program Files\zrok>sc start zrokAgent
Removing the zrok Agent Service
The following commands (in a Command Prompt running as Administrator) can be used to remove the service from your system:
C:\>sc stop zrokAgent
C:\>sc delete zrokAgent
And if you have your USERPROFILE environment variable properly set to C:\Windows\System32\config\systemprofile, you can use this command to remove the environment from your system and from the zrok service:
C:\Program Files\zrok>zrok disable